|
|
If you have any questions regarding this Project please E-mail "INSAYN".
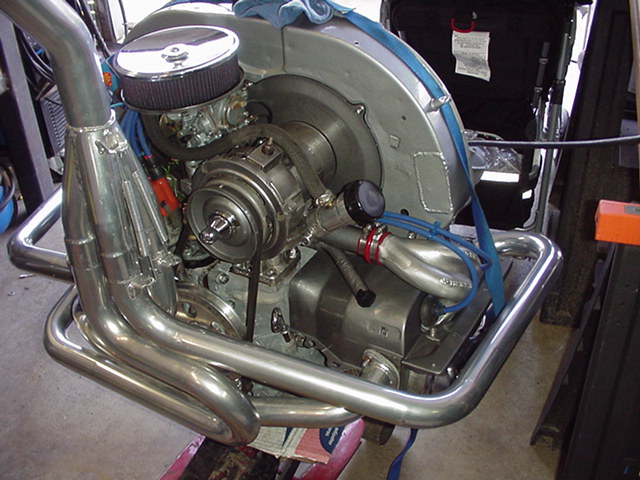
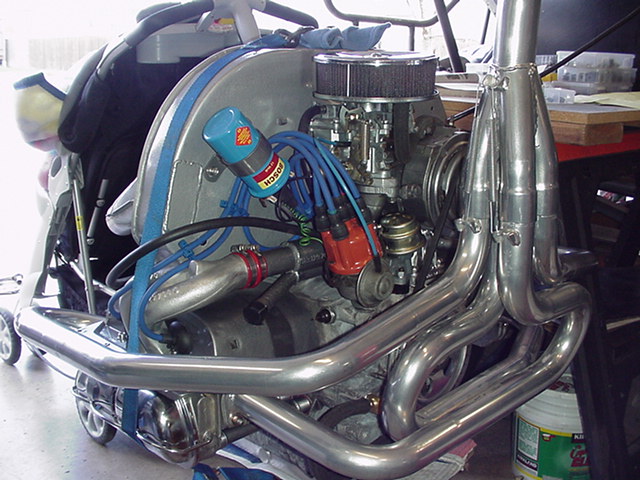
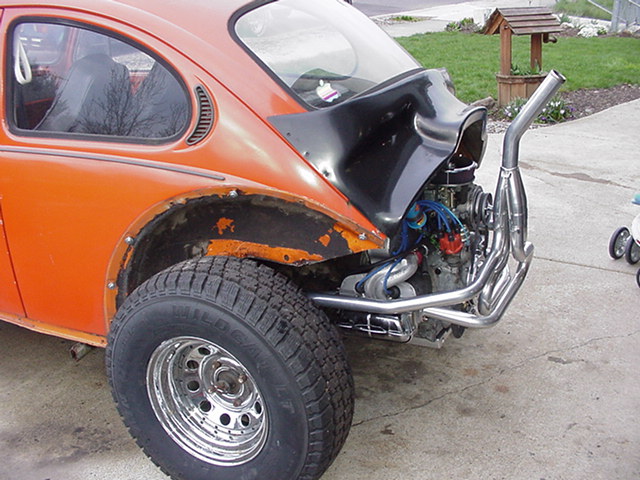
Finally got the motor built and ready to install. You will note that I am not a big fan of chrome, so you won't see lots of chrome on this car. What chrome I do have, either came with the car, or it is not a significant piece that made much difference whether it was on or not. The wheels don't count, as these were with the car. I would not have bought them myself, and have no reason to get rid of them. They will work for the street, but I won't be using them off road much. All right enough chrome bashing, and get on with, right! So, here you have it, a new 1641cc DP ready to rumble. If you follow my screwball efforts to be different, you will note a few changes to the way I set this up. It will more apparent once everything is done, but for now here is a preview of what is to come. Look closely at the first to pics, and you will see that the heat risers are cut off just above the elbows and are tape over. I have cleaned the heat riser tube thoroughly on the inside, and welded on a 3/8" NPT fitting on each side. My future plans call for adding this tube into the full flow oil route to serve two purposes. One is to keep the carb from icing on those cold days, and the other is to use the manifold, and carb as a heat sink to assist in the cooling of the oil.
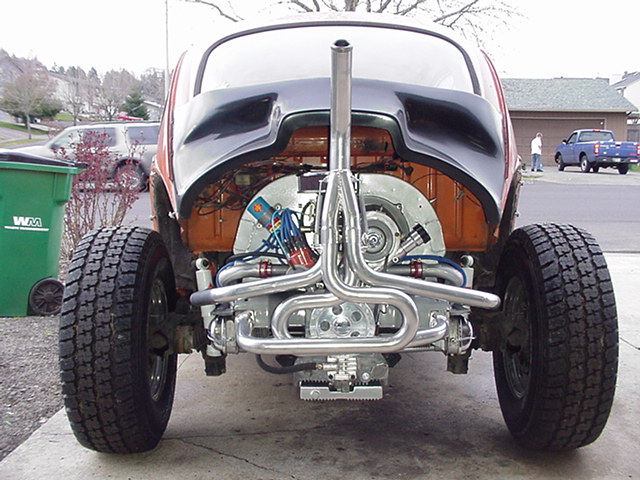
Sneak preview! The motor started up first try, and is now going through some breaking in stages. The neighbors just love the BBRRRAAAPPPPP of the exhaust, I'm sure. We'll see how long that lasts. Note: You will notice in the later pages that the exhaust has been changed over to a "U"bend in the tip. Quieter and more power with the 3" Super Trap I added.
|
For problems or questions regarding this web contact
.
|