I will be covering the first custom pan here, and Mark
will cover his pan on his project page.
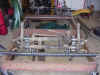
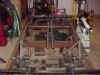
The custom pan during several stages of buildup. I may have taken a bit
of a slow route, but I am very pleased with how it turned out.
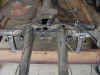
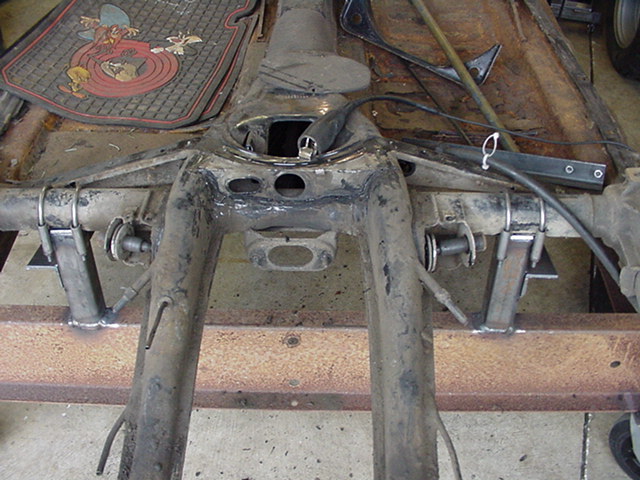
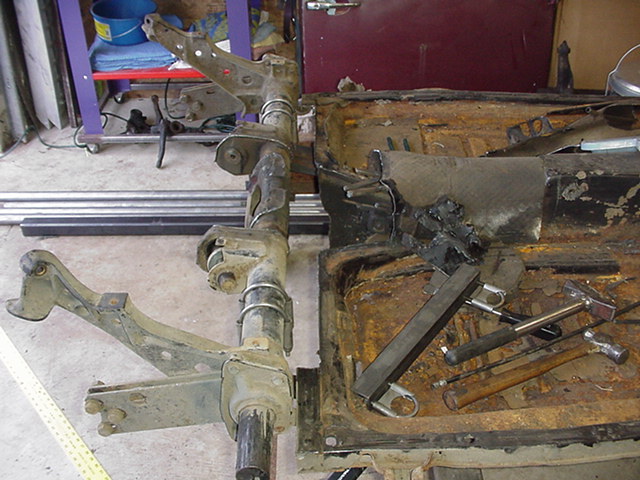
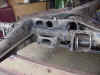
Above shows the beginning of the old pan removal from the front and rear
torsion tubes. I chose to cut off the rear frame horns that the transaxle
sits on, because I plan to incorporate a new set into the new pan.
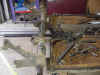
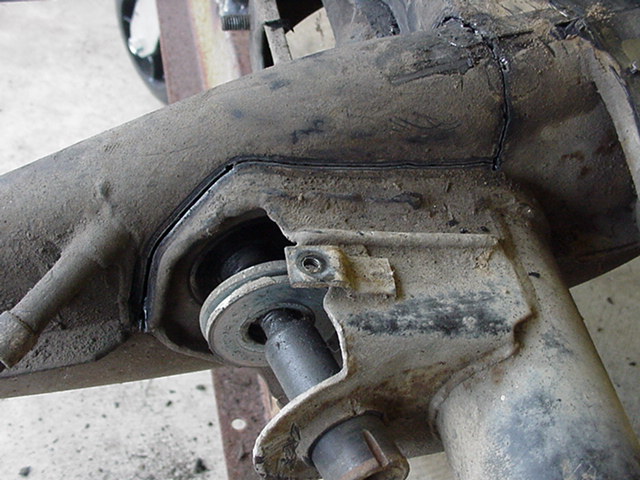
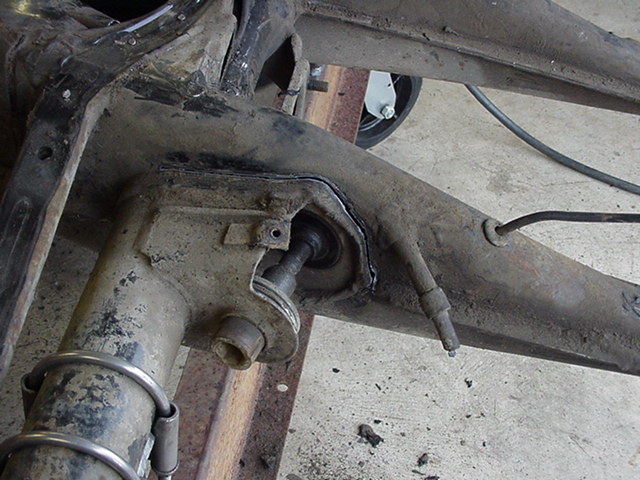
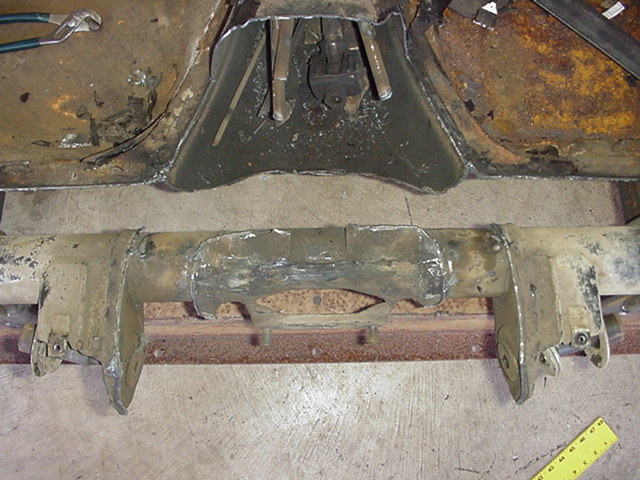
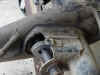
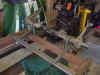
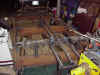
Here are a few closeup shots of the frame horns being cut away from the
torsion tube. The rear pivots for the IRS will stay there, as they are in
good condition still.
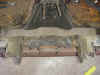

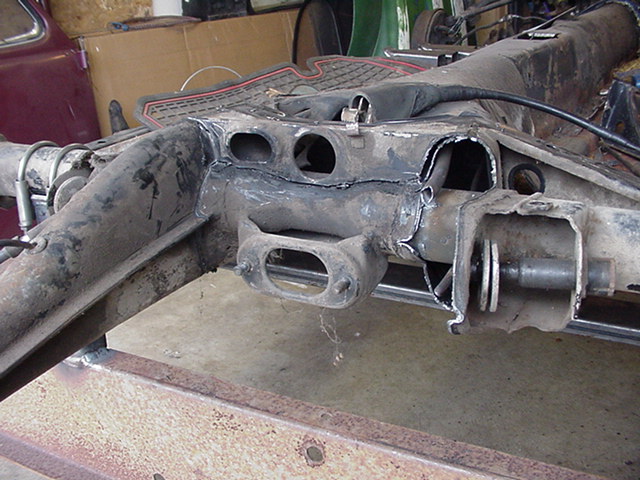
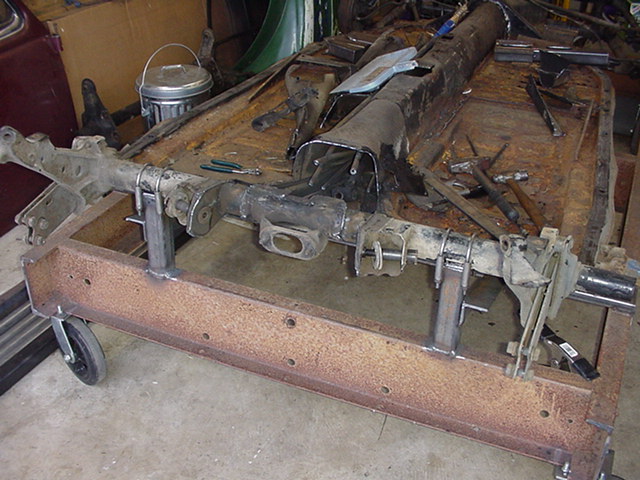
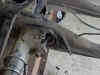
Final steps before completely cutting off the old pan.
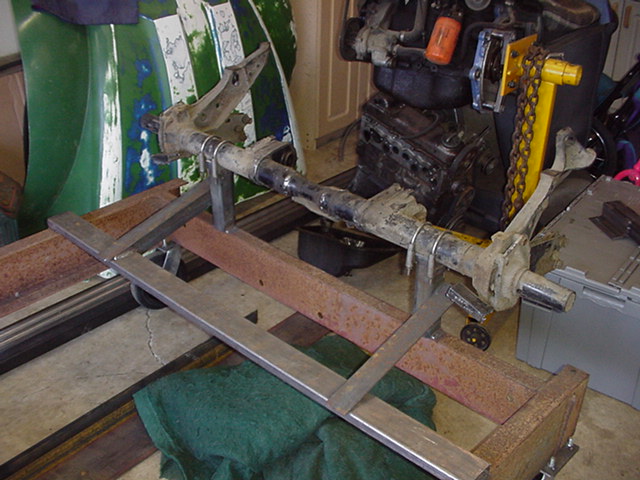
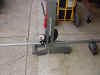
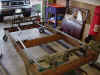
I have the old pan removed and bolted on a '65 king/link pin front
end.
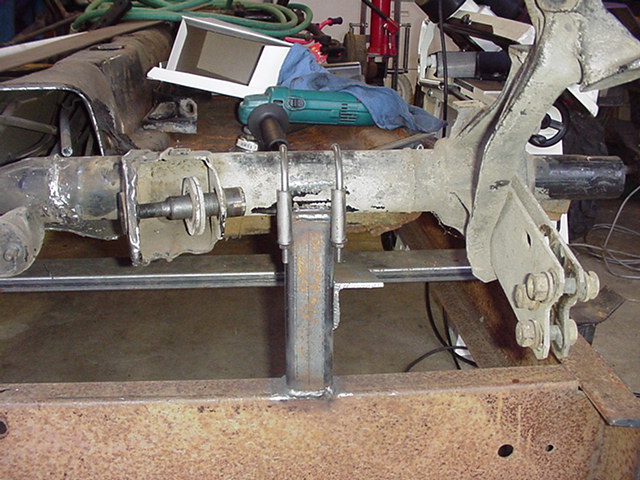
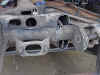
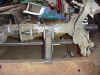
The front torsion jig was also moved forward 4" to give clearance for
longer front trailing arms, and larger tires in the future. The pan jig is
adjustable so that when Mark builds a pan for his Manx, he can pull the front
torsion back the required 14.5 inches.
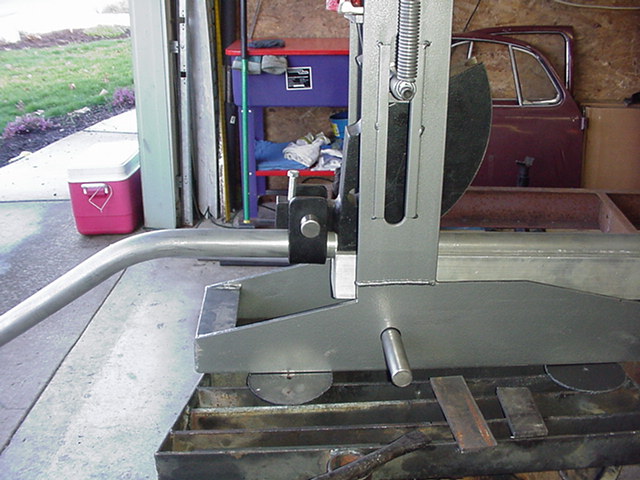
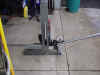
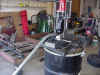
At this point I got the
material to start building the tube pan. I am going to use 1.5" x .095 wall
DOM tubing
for all of it. Mark plans to frame his with 2" square tubing.
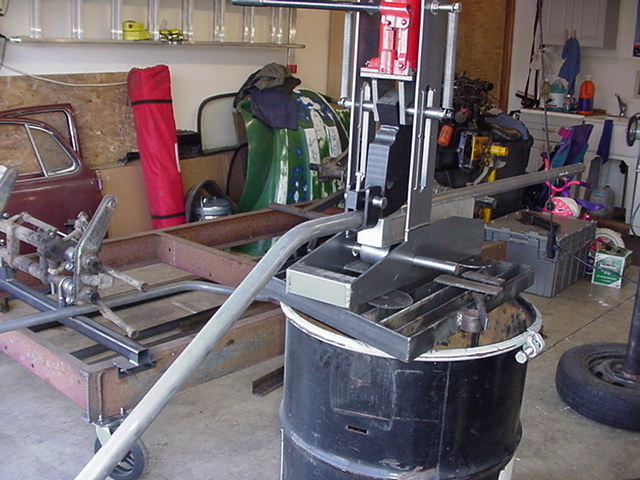
The
next step will be to get
some tubes bent. Finally get to use the tube bender that I built a
few months ago.
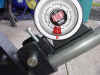
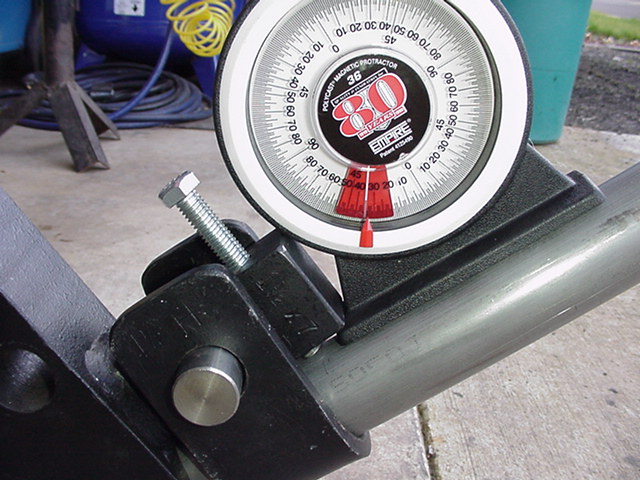
Here is how I am utilizing an angle finder to tell me what the angle is, as I
bend it. The angle finder has a cheap magnet on the bottom the has just
enough grab to keep in attached to the tube. The other item I used, but
did not get a picture of is the level that I place on the tube behind the
bending die. This aids in keeping the level indicator absolute to
level. I just need to push down or lift up on the rear section of the tube
to bring it to level to check the bend angle. Very simple and cost
effective!

One small design flaw is the fact that I have to get a buddy to help lift the
150+ pound bender up high to get compound bends. Actually having it up
this high is nice. It allows for easier operation than sitting on the
floor.
With the first two tubes bent to match the outside bends of the bug body, and
the center tubes bent up, and travel all the way to the back to create new frame
horns.
PAGE 3
Jump to Page ,1 ,2 ,3
,4 ,5
,6 ,7
,8 ,9 ,10 ,11 ,12 ,13