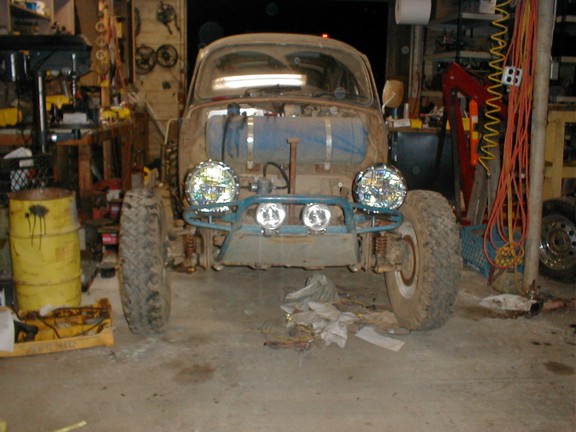
While I was waiting for motivation to finish the wiring harness I installed
some lights. One of my clients (I have a computer consulting business) is
a factory rep for a number of automotive gizmos and they hooked me up with these
lights for nothing. They will require some finish wiring but they are
BRIGHT!
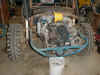
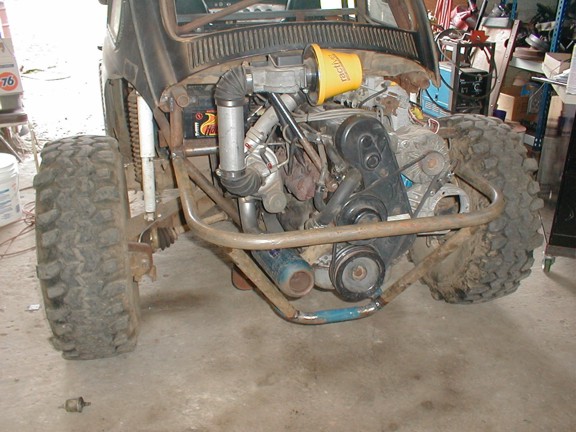
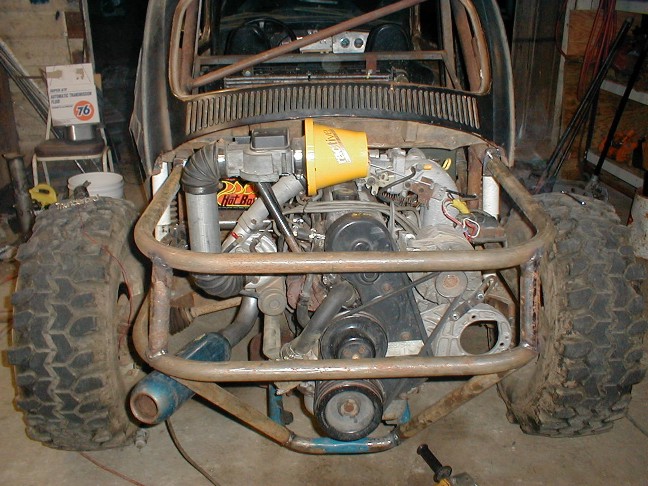
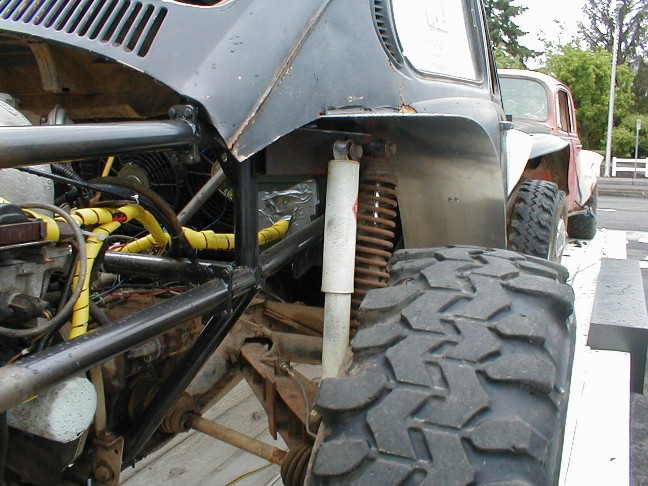
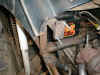
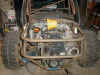
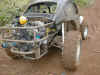
Now that the motor is running it is time to get the rear cage and motor
mounts done. I had a rear cage laying around that I thought I would use
but after doing a mock-up I found that it just didn't fit right and it was
pretty bent up. I decided to use just the bottom hoop and fabricate the
rest. I added a middle hoop and some supports as a start and tacked it all
together.
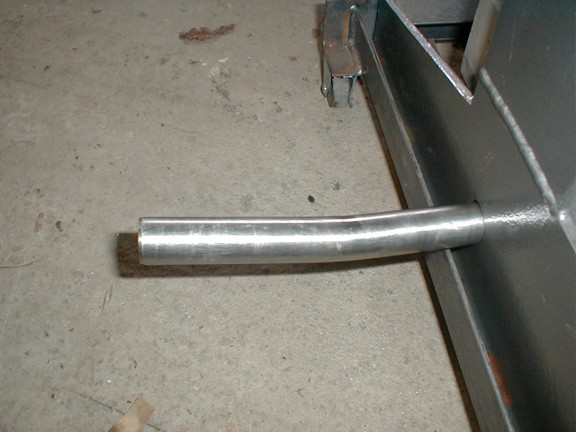
While bending some of the tube, I actually
tweaked the bender. The bottom
roller shaft got bent. Not sure why exactly, but it was most likely from the
lower roller being out of alignment. I thought I had kept an eye on that
but you know how these things go. So, the bender had to be fixed before
continuing.

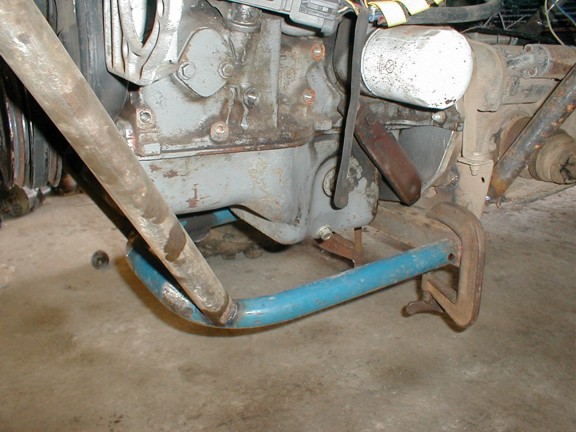
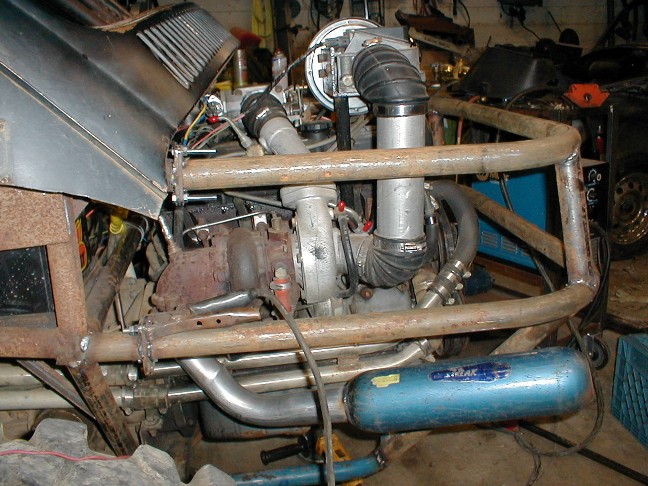
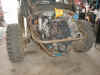
The upper hoop of the rear cage required another set of break points. I
matched the ones I had made for the lower section and welded in the upper hoop.
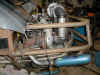
I added the support tubes to keep the thing rigid and welded that all together.

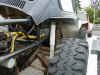
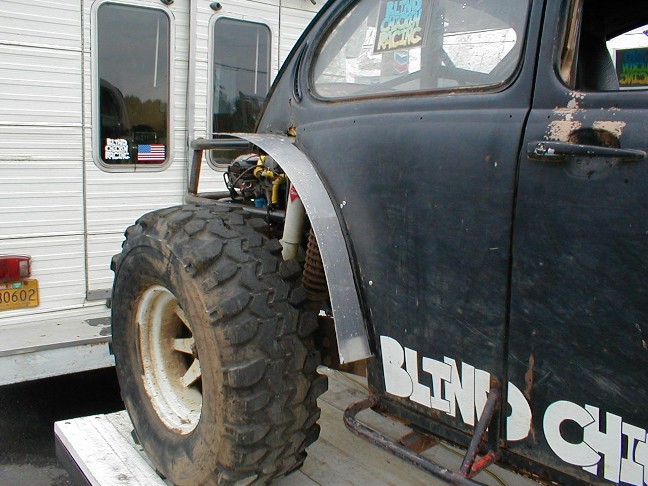
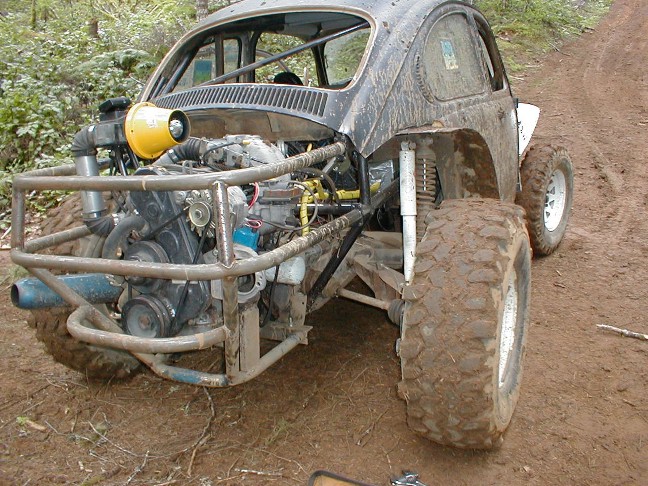
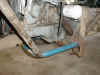
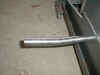
The next thing was to install some kind of fenders. I went round and
round in my mind about using plastic, screen and fiberglass, steel, aluminum, etc. etc. etc. As I
was trying to figure out how to build some inner fender wells out of some plastic
board, I happened to run across two pieces of aluminum leaning against the wall
(appeared magically, I am sure). I just shoved them in there and they
looked good. I attached some angle to them and siliconed the seam to keep
rattling down to a minimum and Viola! I had fenders. I have found
that I do not need anything more. The mud hits the fenders dead center and
does not hit me in the back of the head. That is a good thing - write that
down!
Page 3