|
|
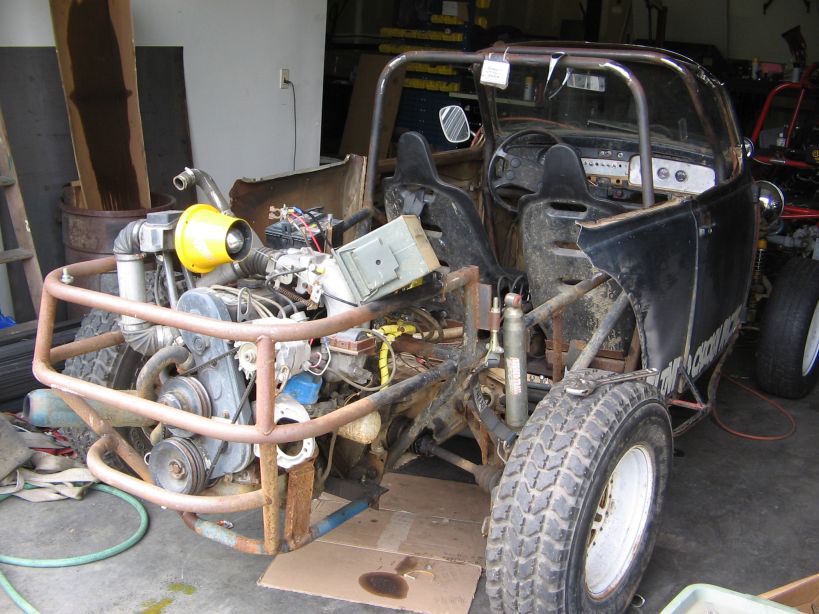
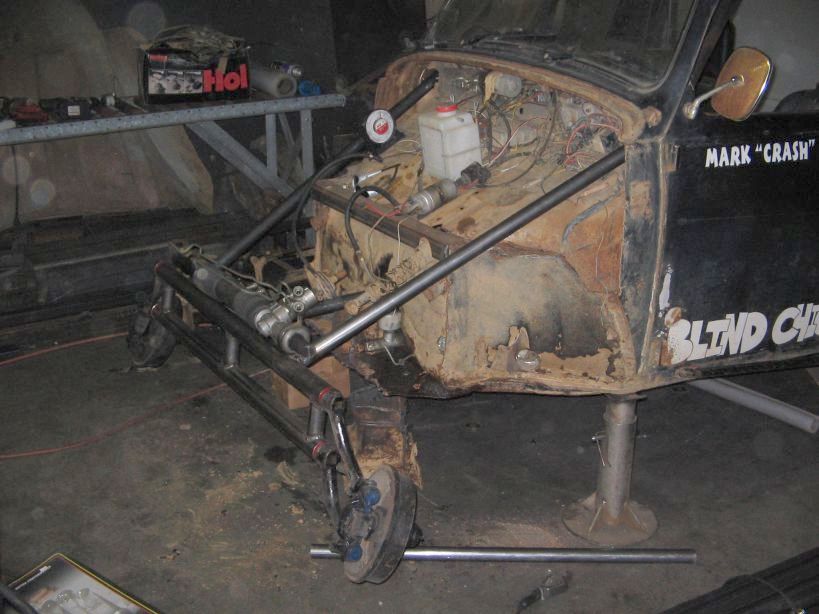
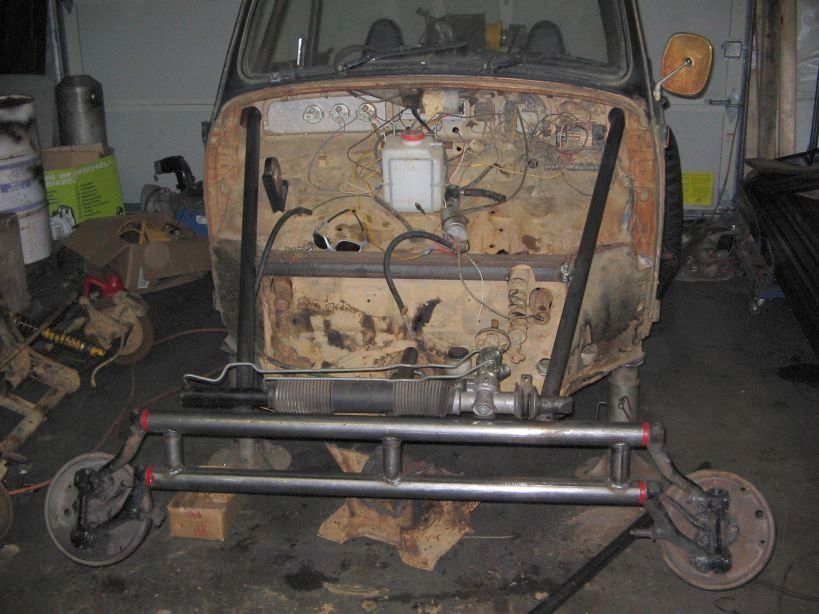
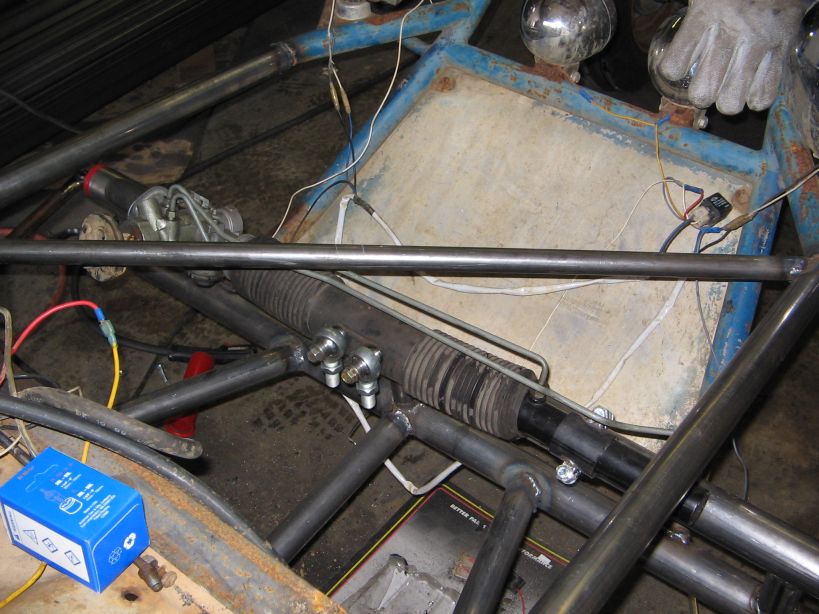
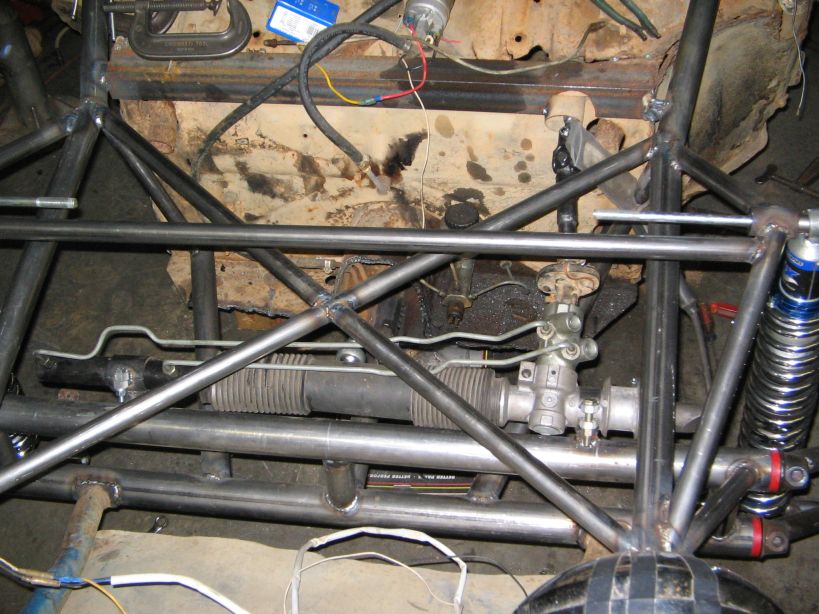
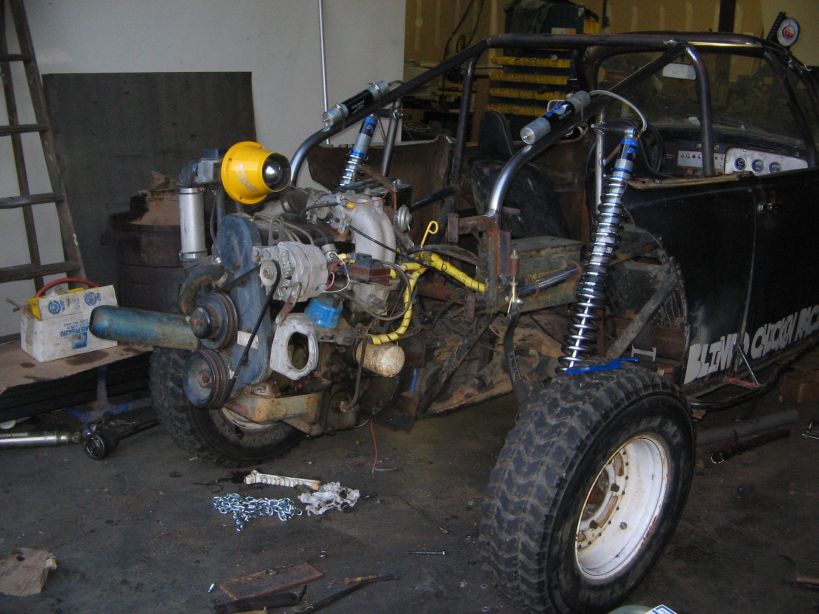
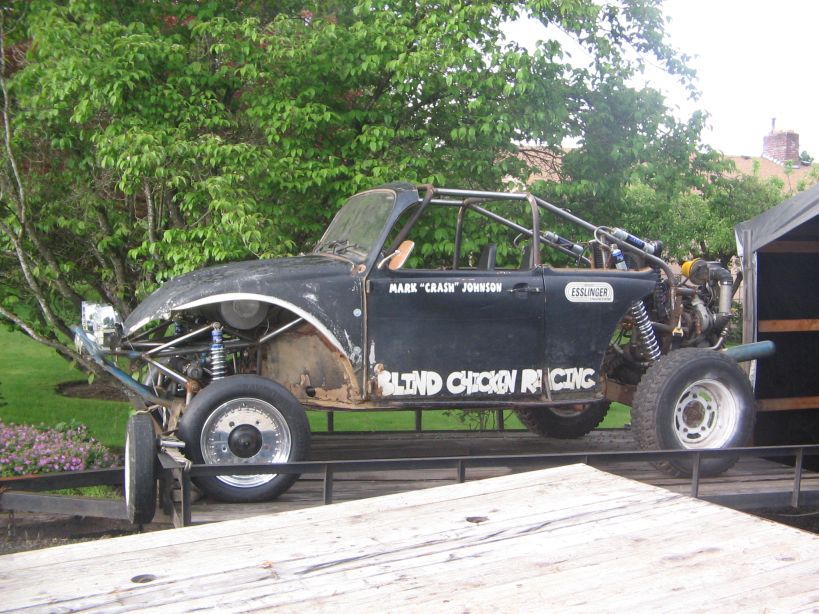
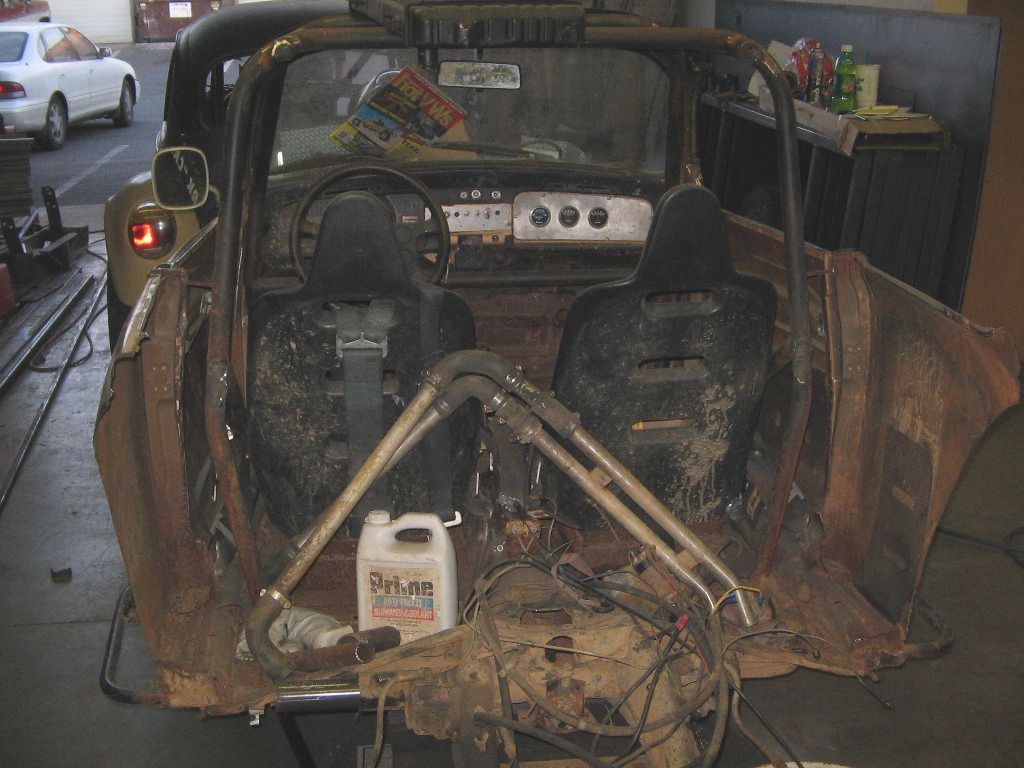
It was my hope that I would be able to retire the black bug and build a new car. Then reality and the need to work set in. With a trip coming up I decided to gut the black car, replace a lot of it, and make it go for a couple years. I started by collecting and building parts. It will have an 8" widened beam with 2x4 front trailing arms, 4x5 rear trailing arms, rack and pinion steering, intercooler, 6 rib trans, better seats, and a radically changed rear cage section.
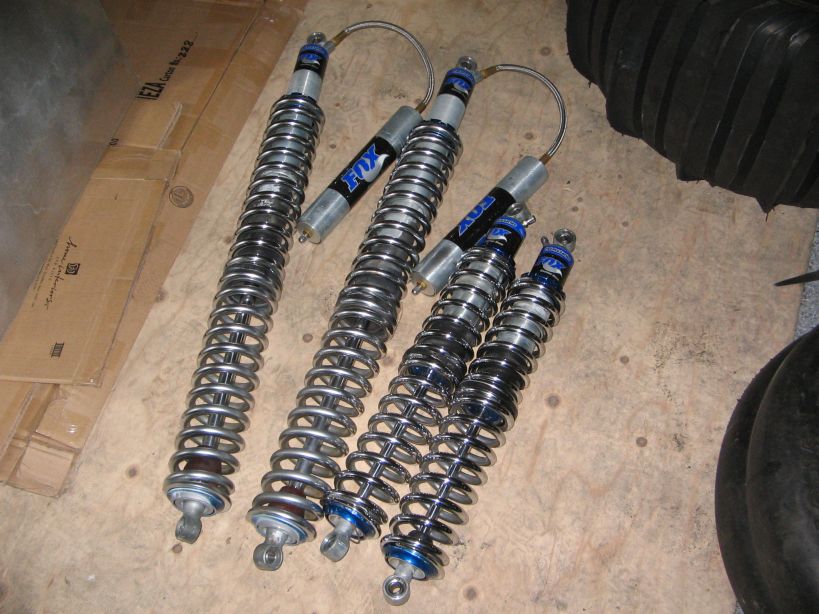
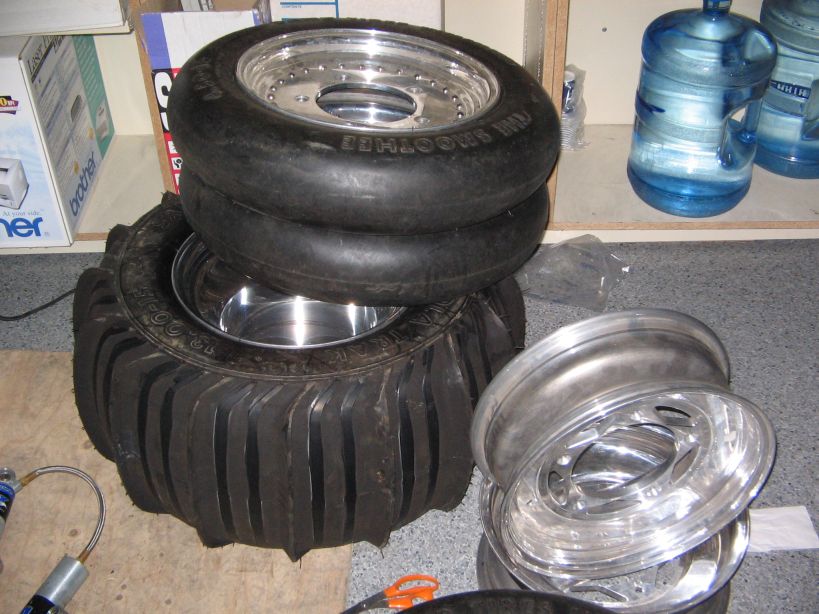
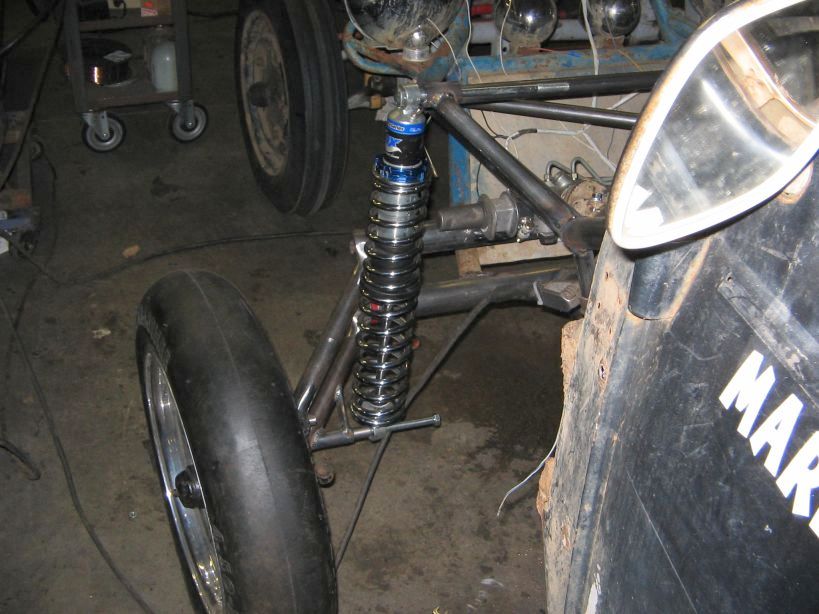
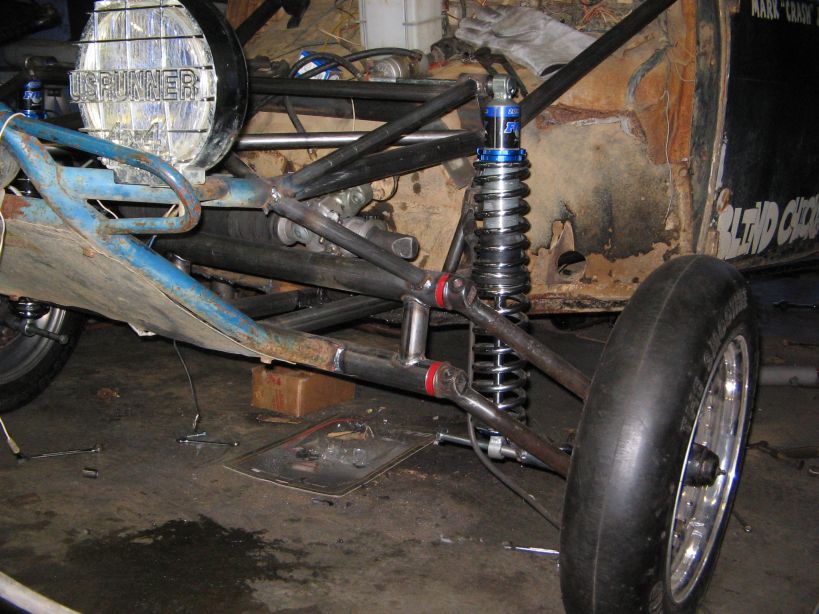
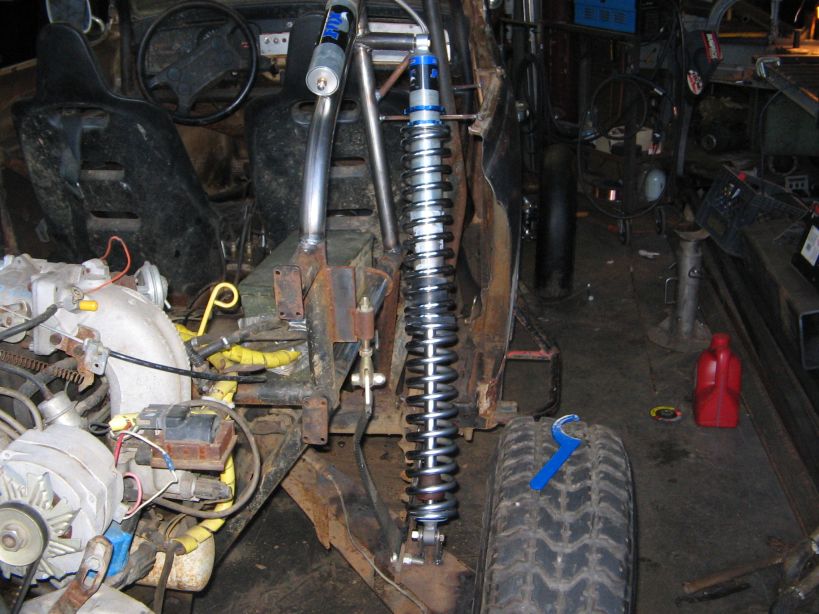
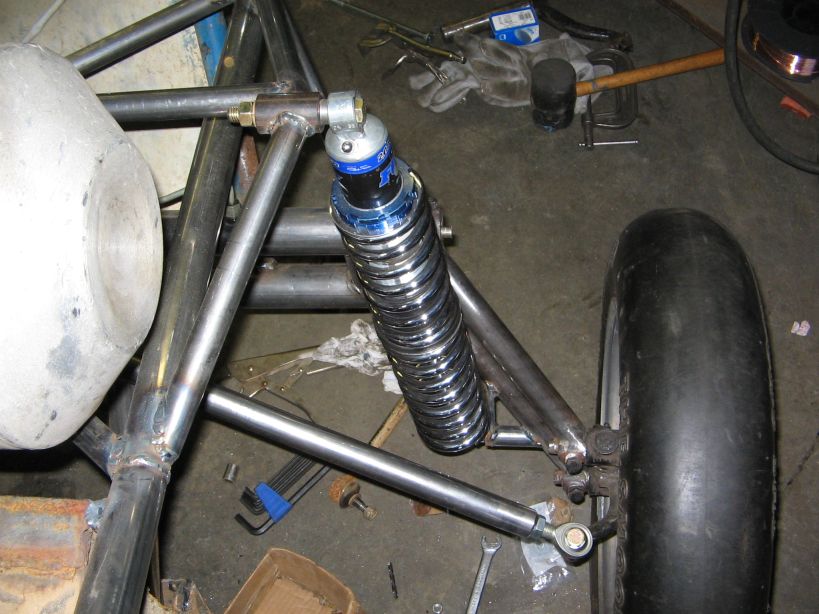
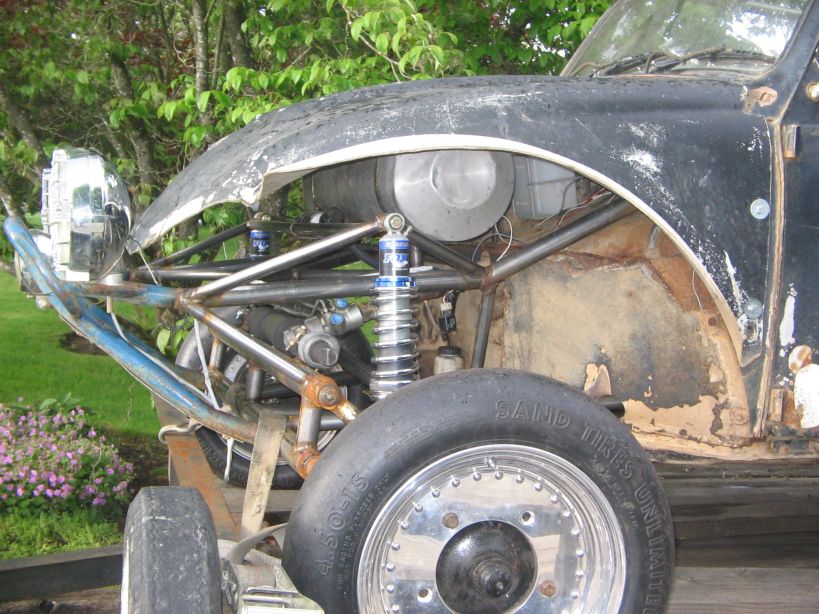
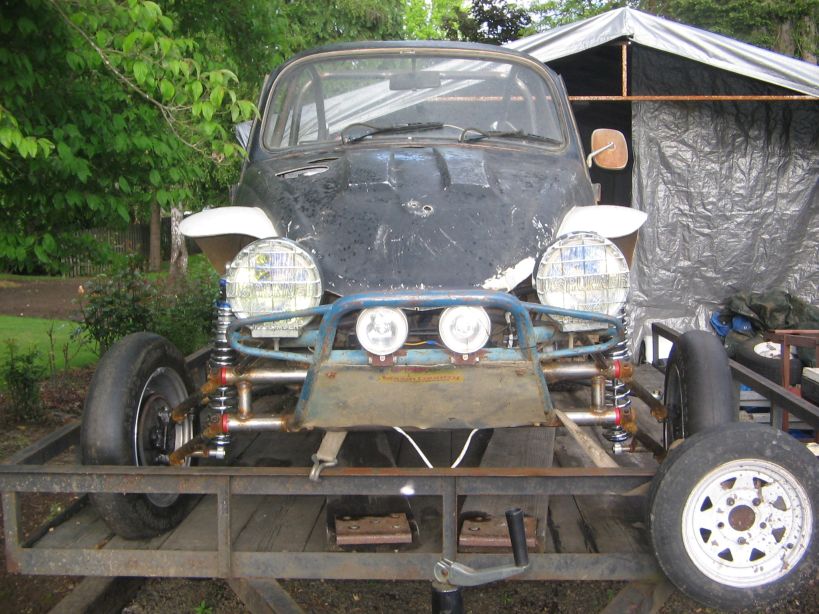
The trailing arms and beam were the easy part. I just designed and built new sets. I was able to pick up some new paddles and aluminum wheels as well as a nice set of Fox coil-over shocks. That should make getting the suspension working fairly easy.
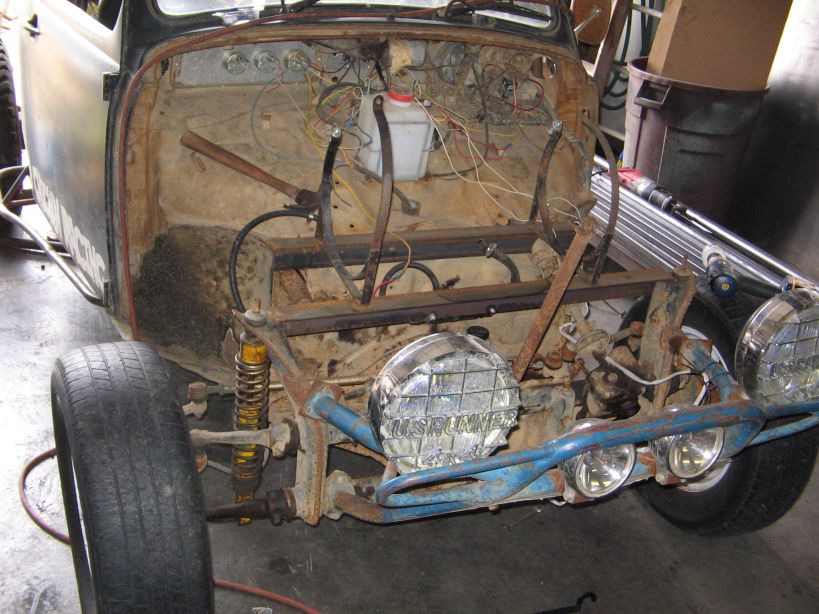
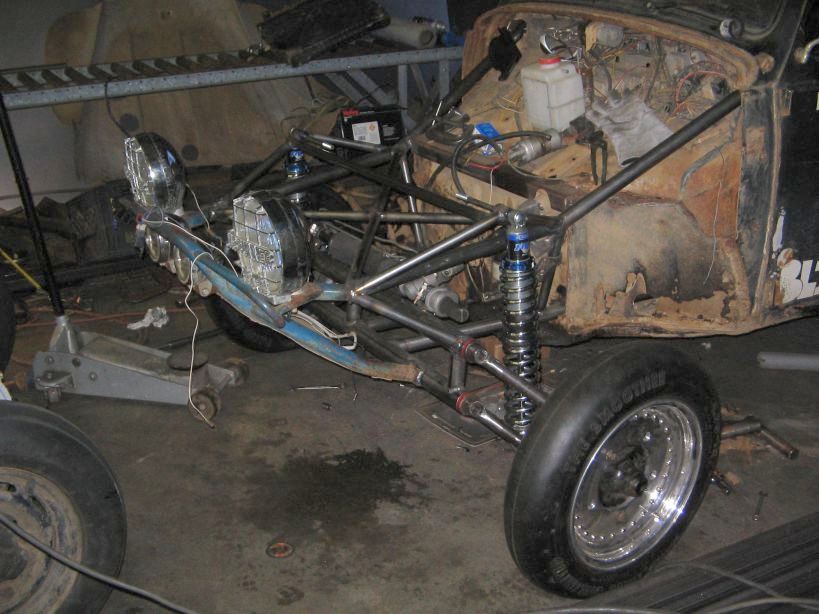
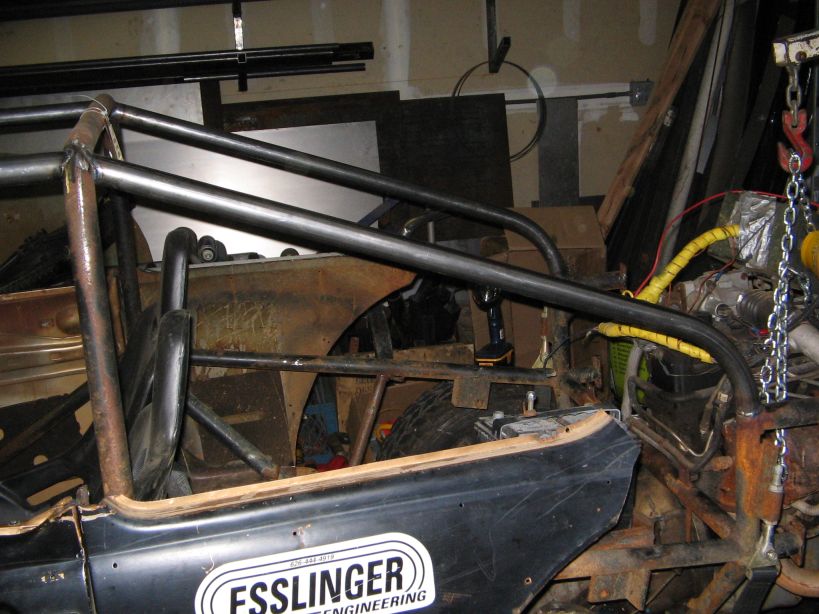
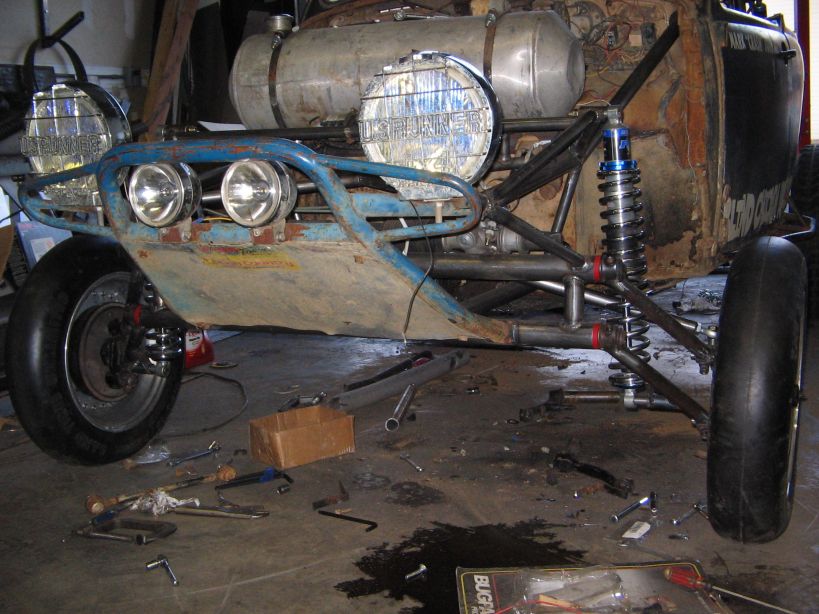
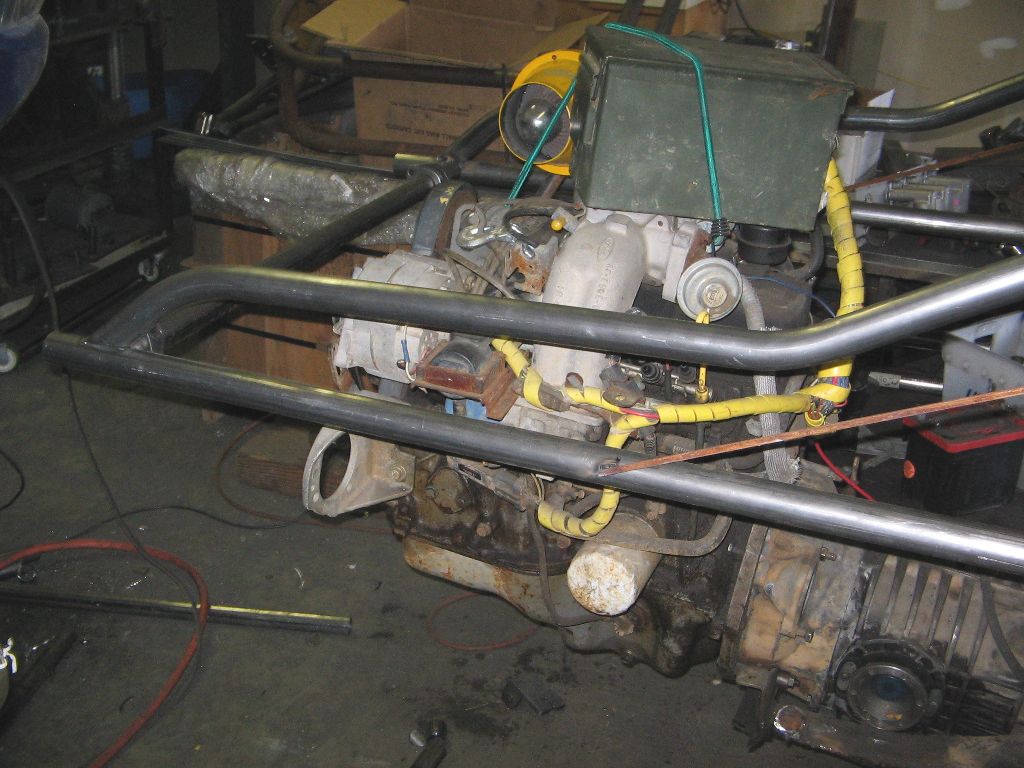
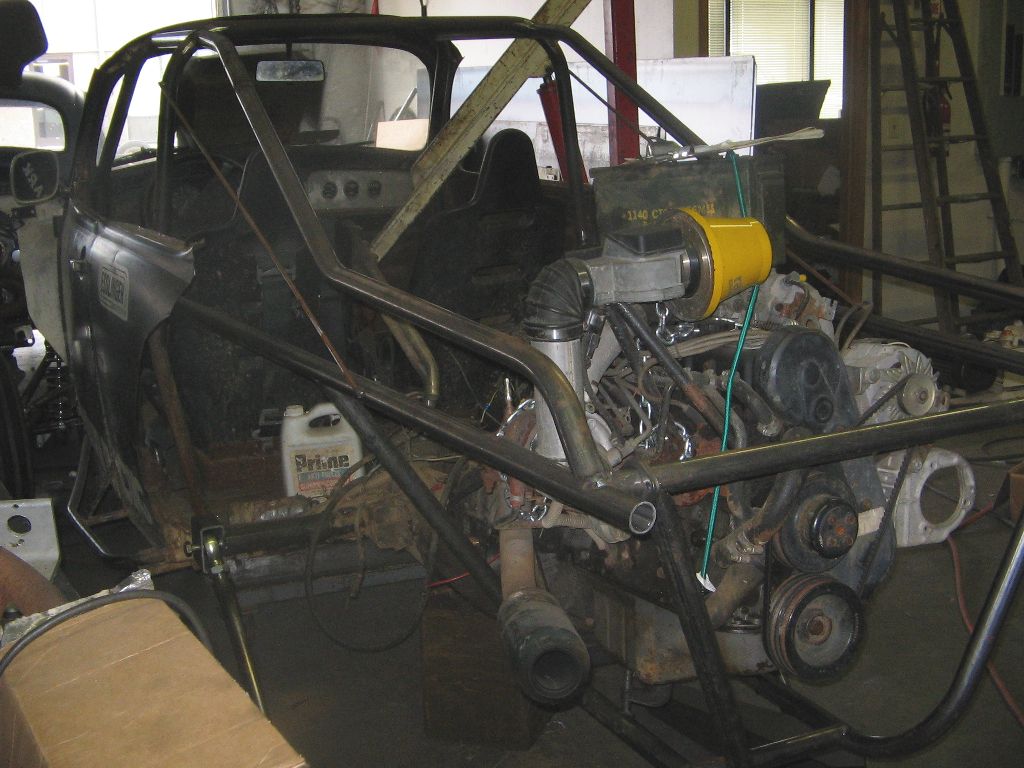
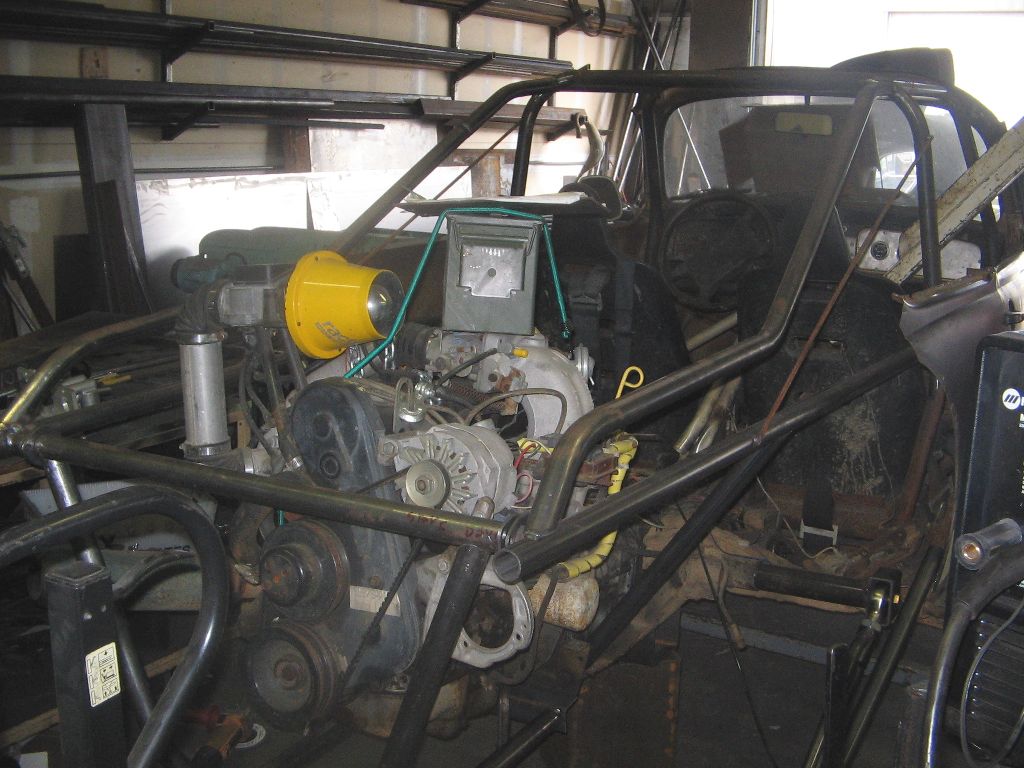
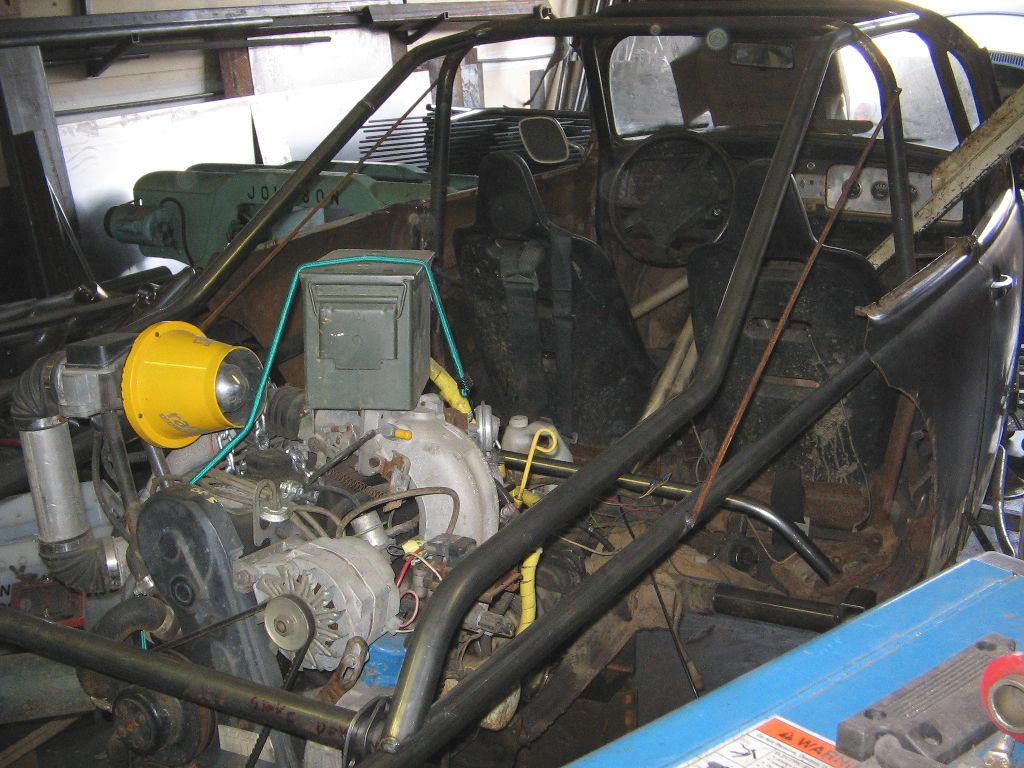
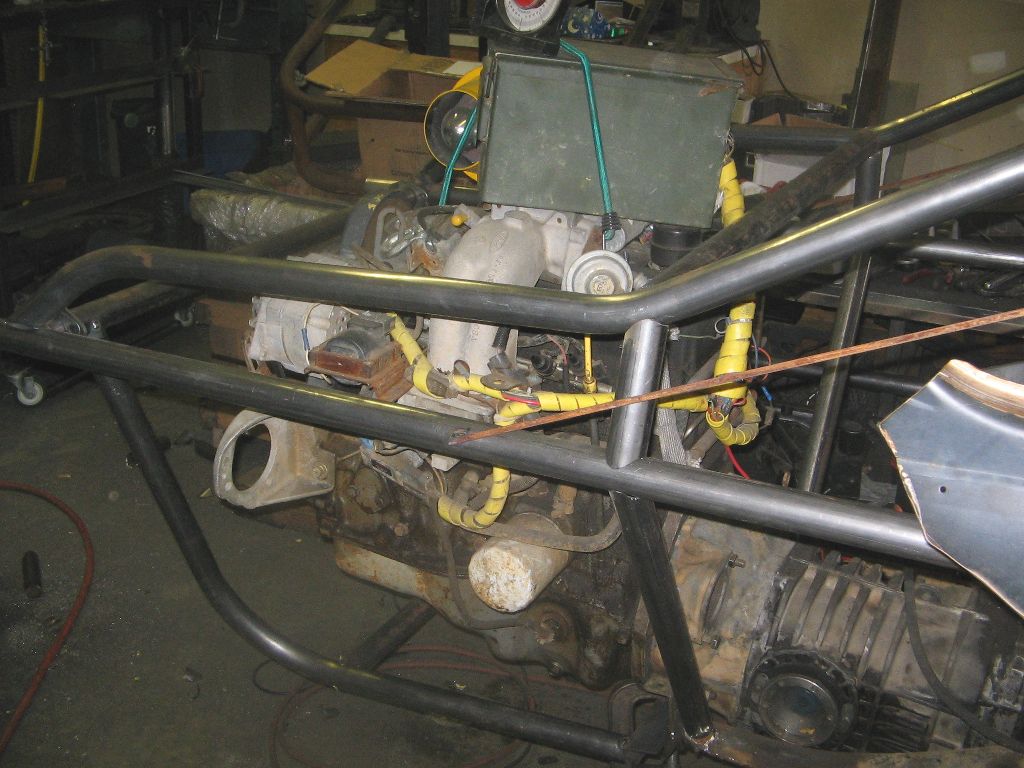
The next step was to clean up the rear cage. After trimming off the really bad stuff, I got a wild hair and cut the whole thing off. Standing back and looking at my handywork left me thinking WHAT WAS I THINKING!!. After spending some time scribbling rear cage ideas I started bending tubing. I wanted something that had a sleek rear but would look good with the wing I had in mind.
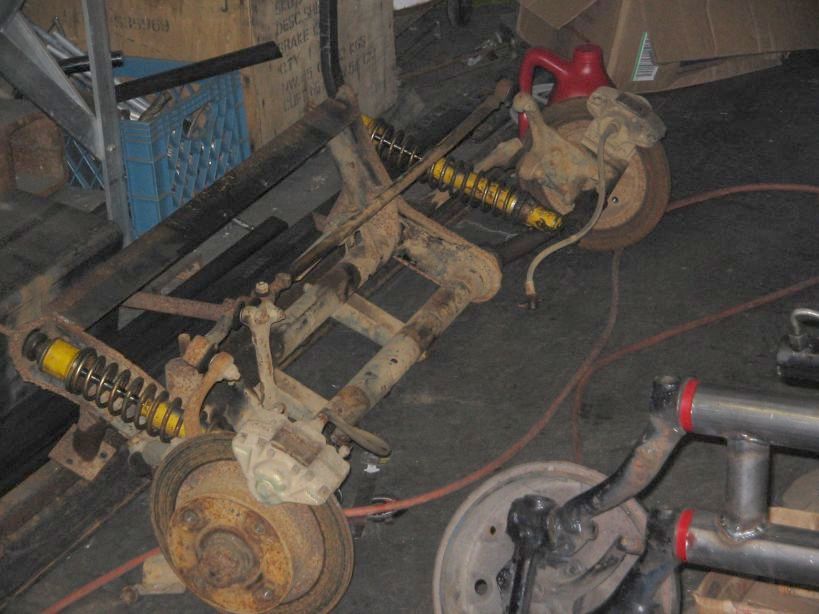
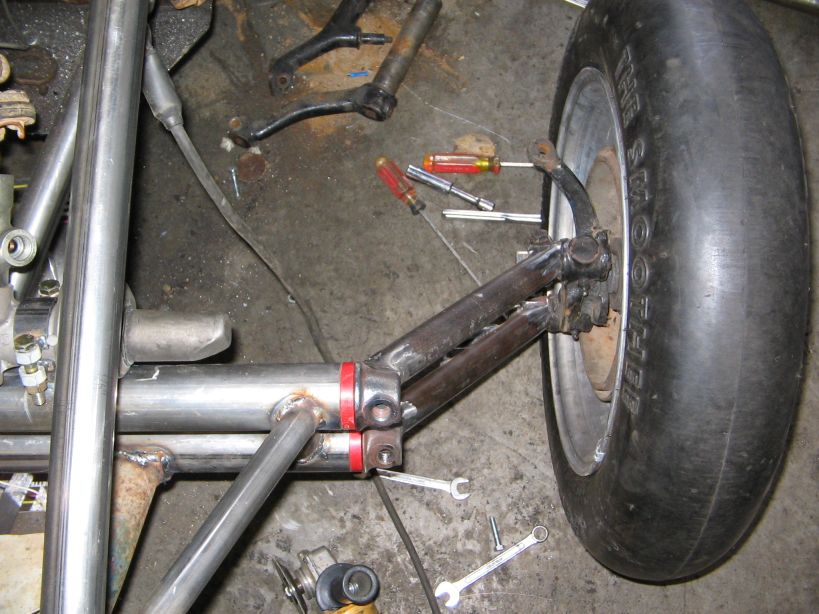
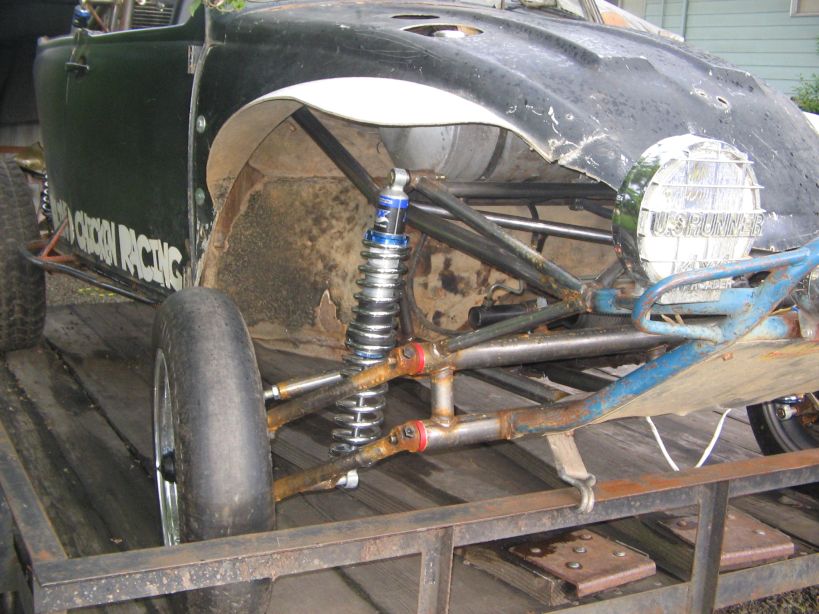
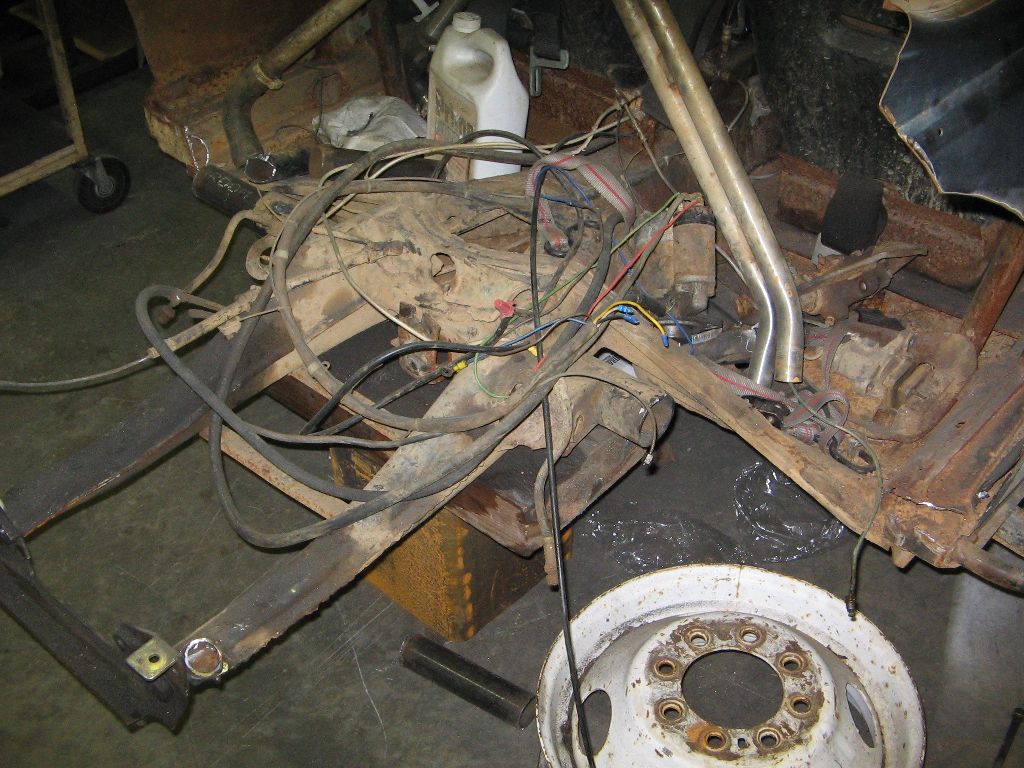
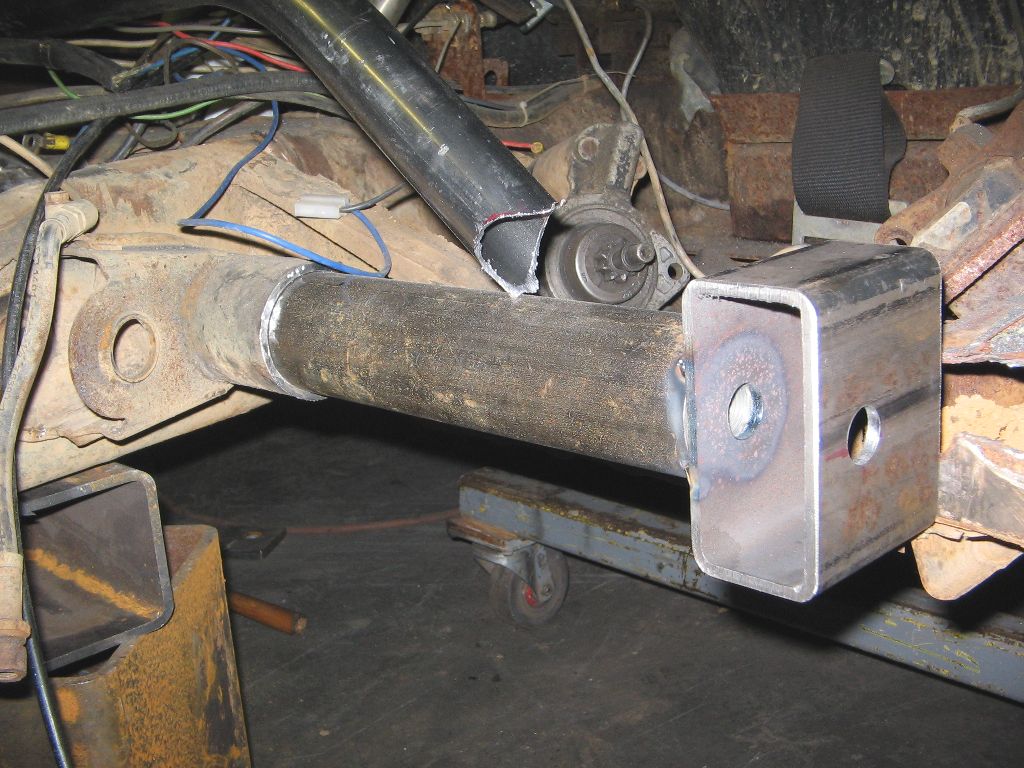
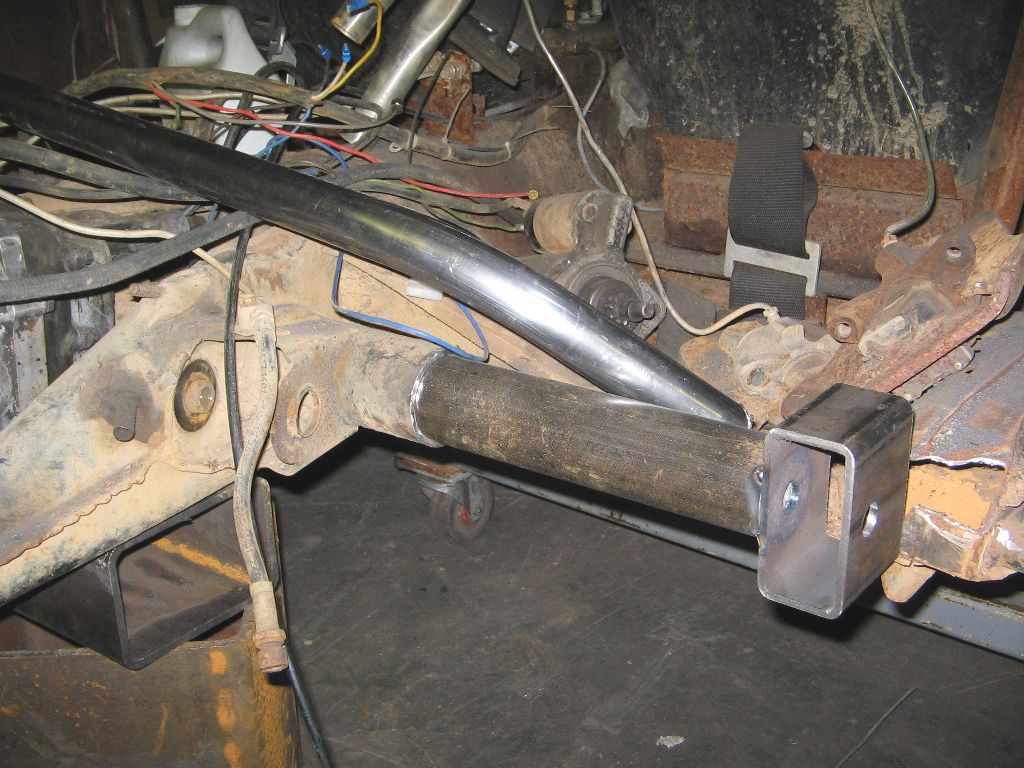
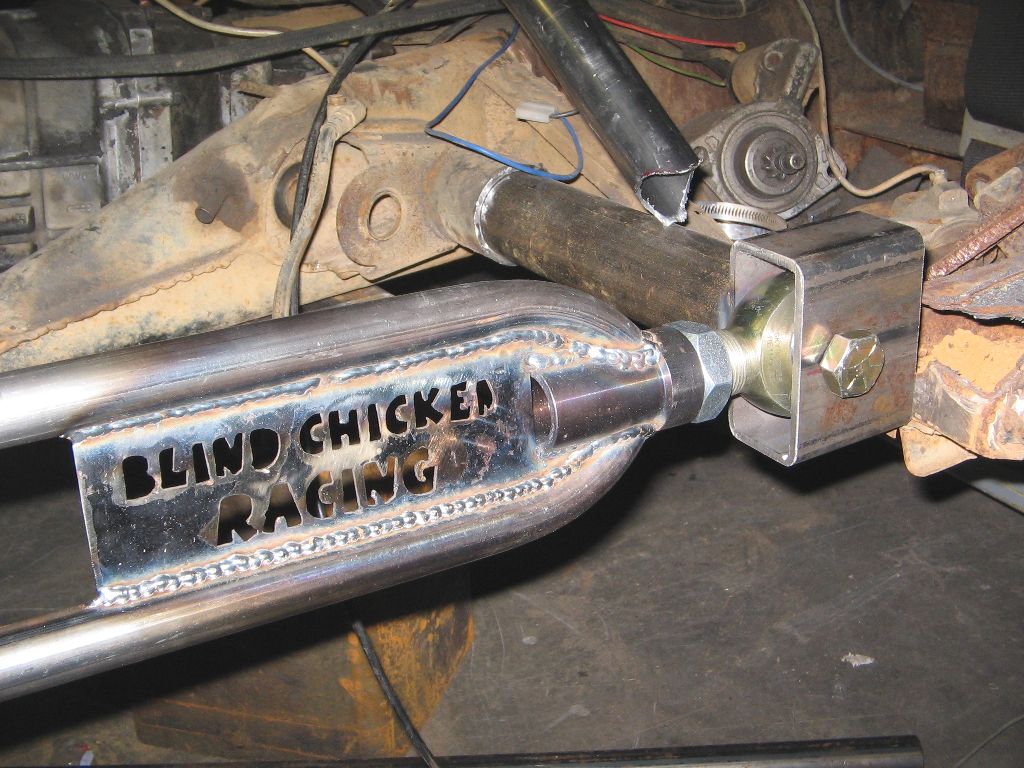
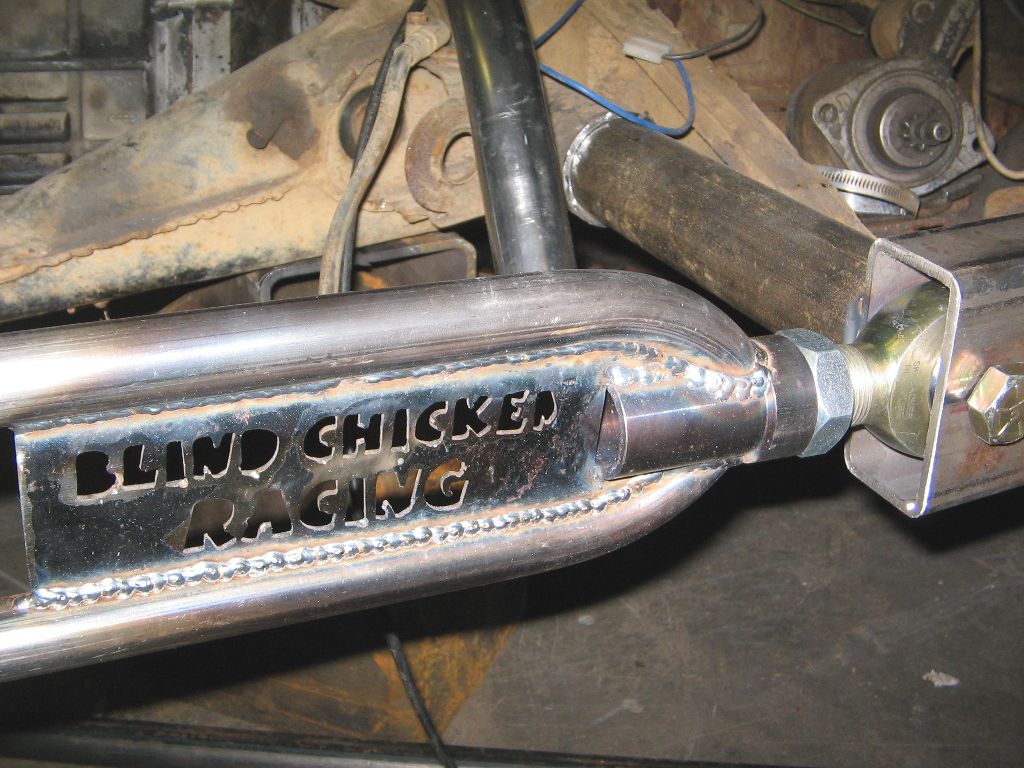
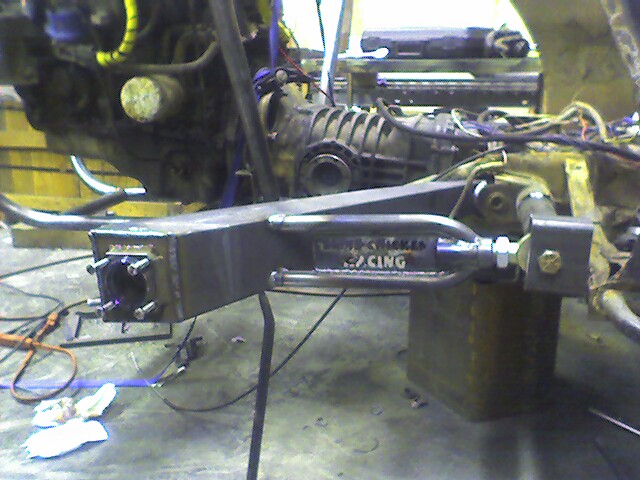
The rear suspension point were converted to a double shear mount for the monster heim joints and custom springplates for the trailing arms. I though the cut lettering on the arms was a nice touch. I realize the hiems are huge but they were free and why not go for overkill.
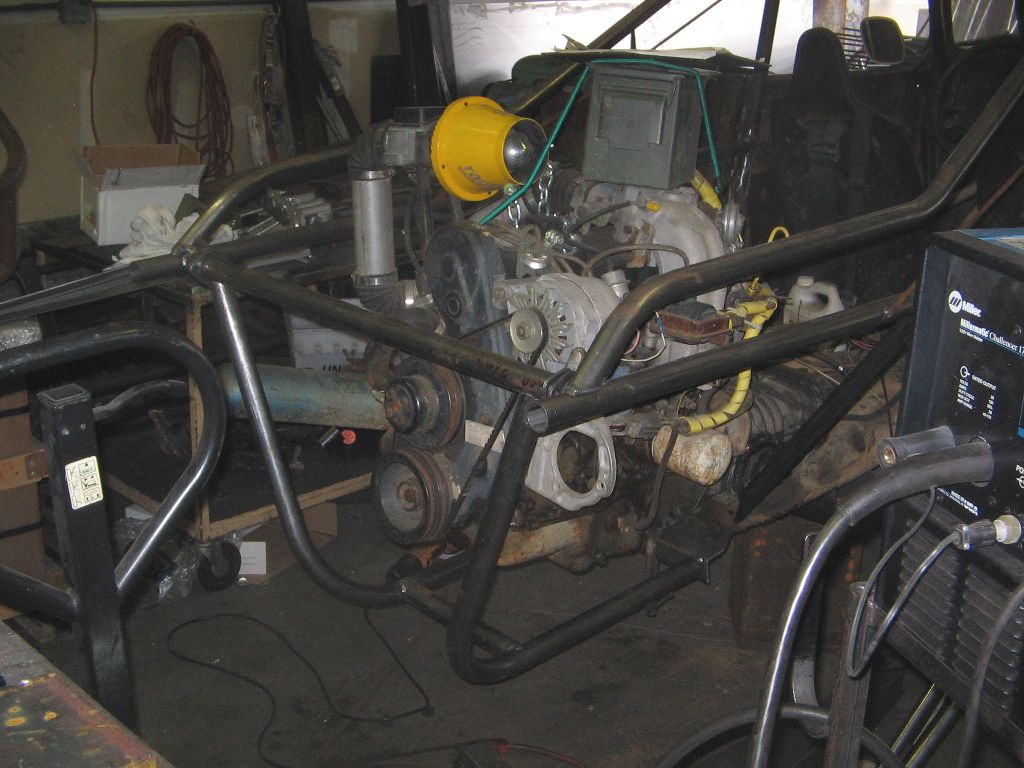
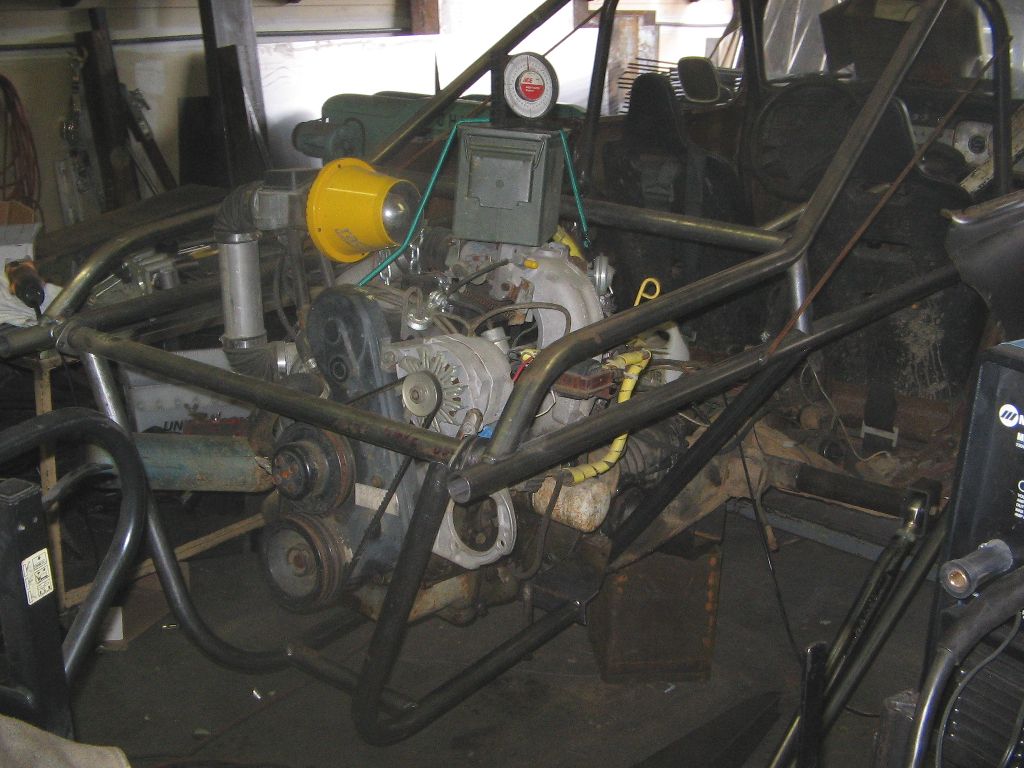
The rear cage went together pretty well and I am happy with the look. It wasn't until I had a lot of it done that I realized the cage points I was measuring against were crooked. The original cage center hoop is 1" off on one side. Some quick adjustments and it looks like it is lined up good again.
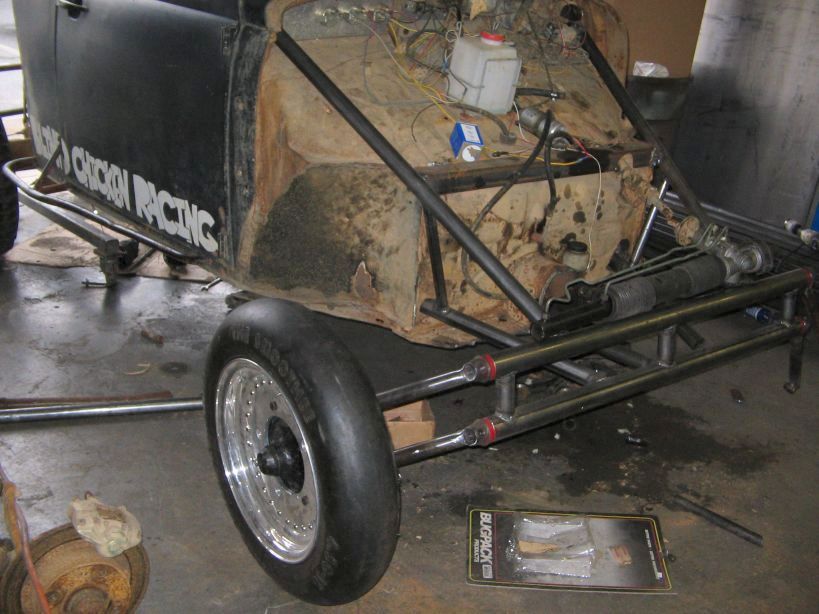
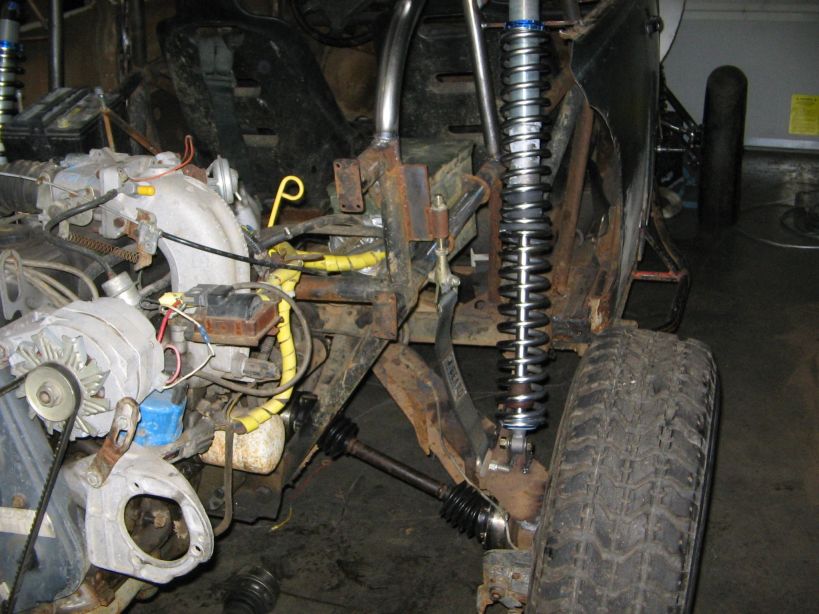
I finished up the alignment of the rear trailing arms and welded on the springplate replacements. Everything looks like it lines up good so now I have to get it on wheels.
|
For problems or questions regarding this web contact
.
|