Jose's Rail Version 1 (toyota powered)
Home Up Products Projects How To Events Photo Album Other Fabrication Our Shop Tools Our Other Toys Product Reviews For Sale Links Guest Book Contact Us

Home
Up
Red Rail V2 (Turbo Subaru Powered)


joserailfront.JPG (114365 bytes)  joserailengine.JPG (106693 bytes) 
We recently picked up a rail frame from one friend and are building it for another.  The advantage of building a rail for another person is that they get to pay for everything and anything you don't want to do you make them do.  That is my kind of fabricating.

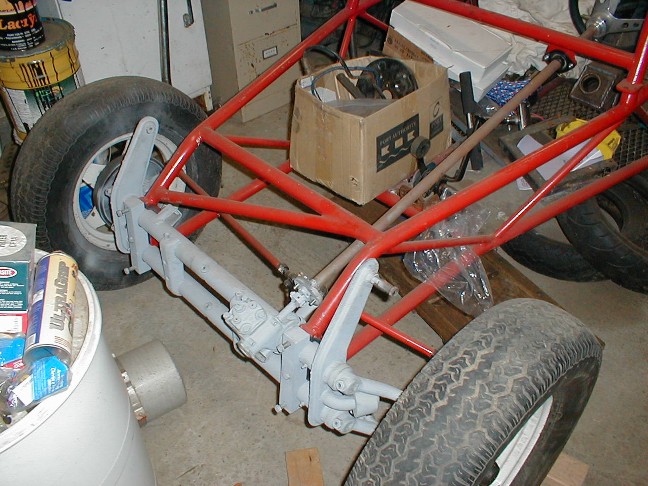
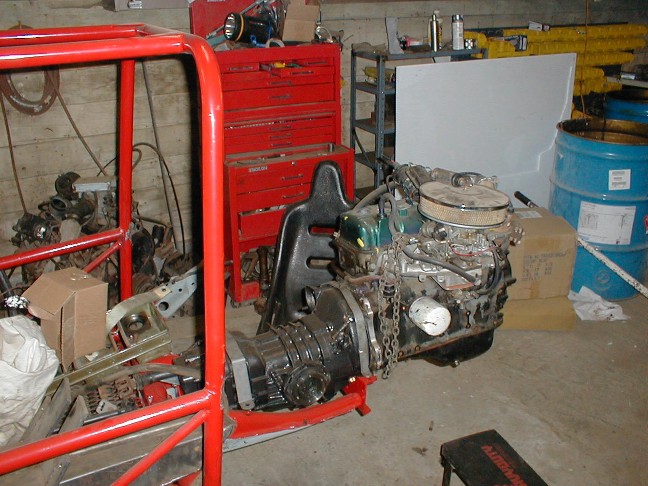
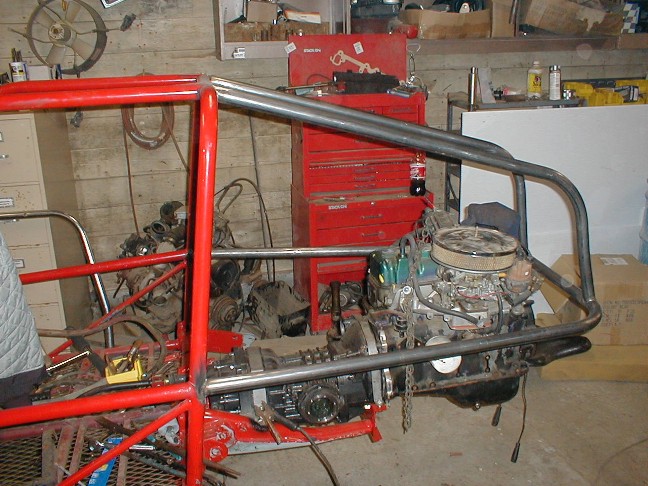
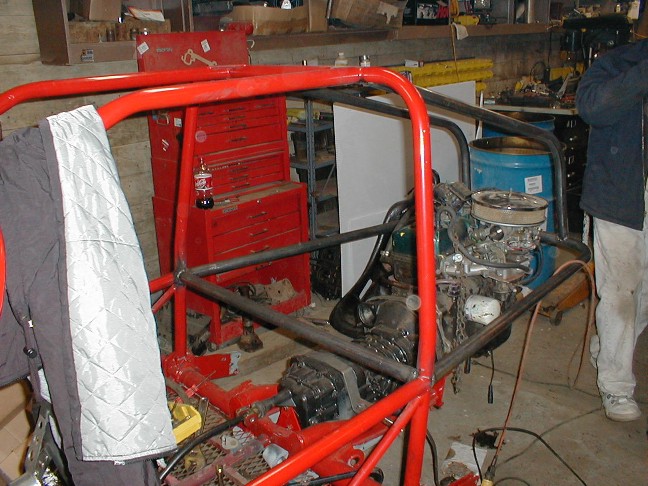
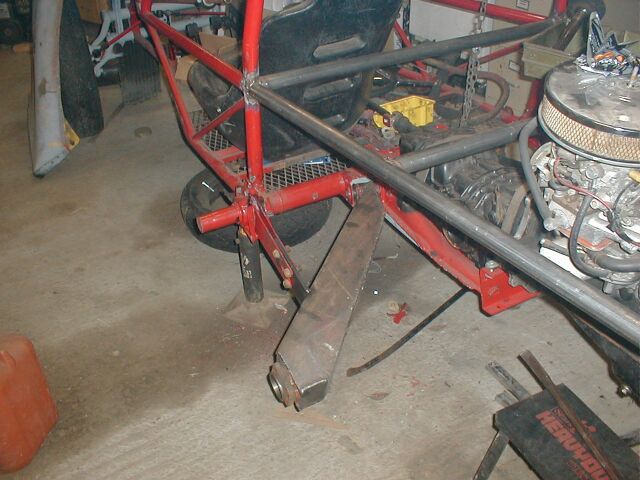
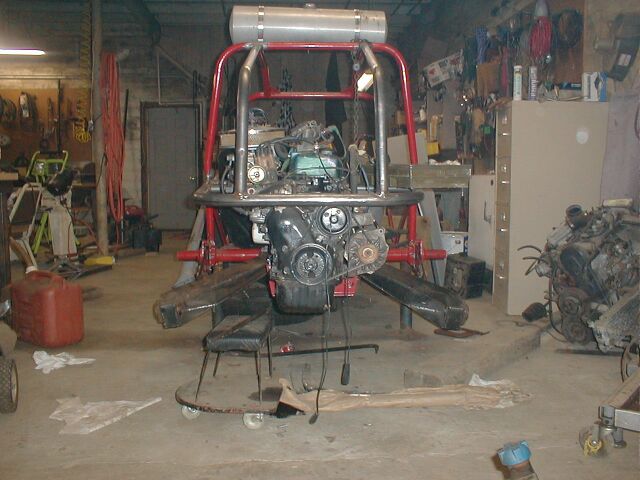
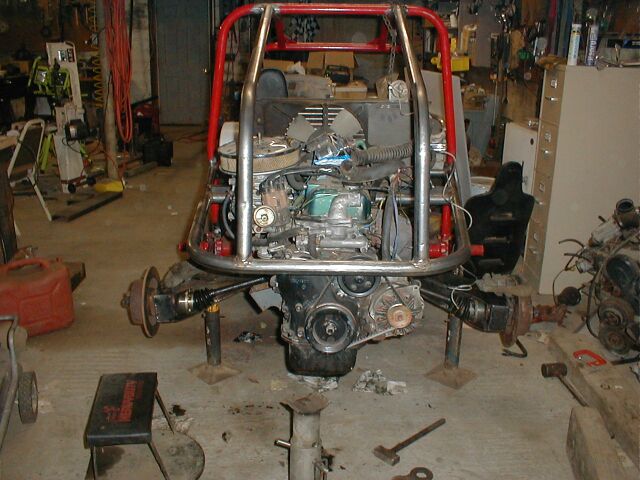
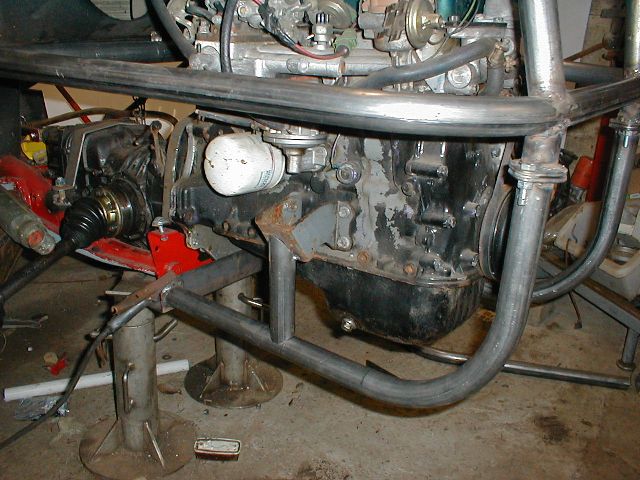
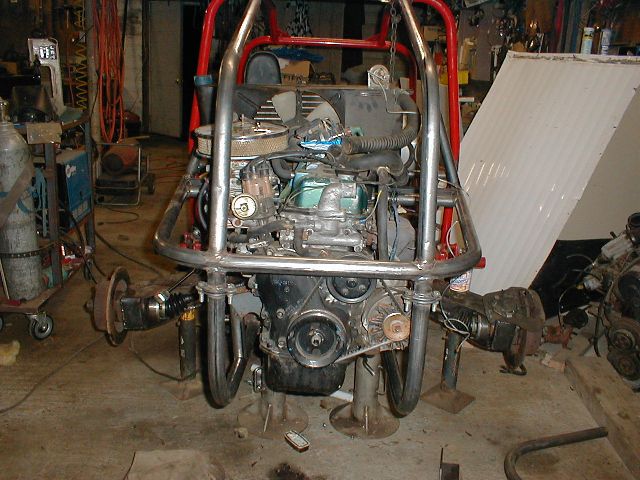
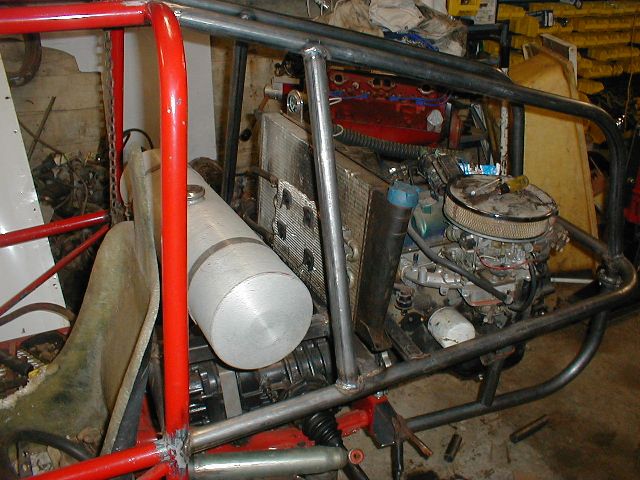
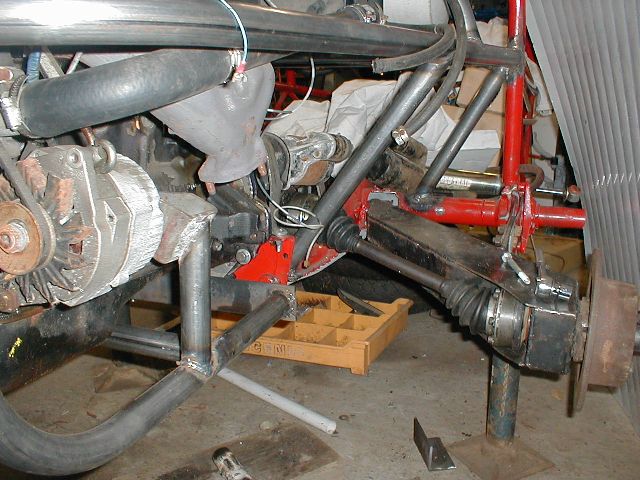
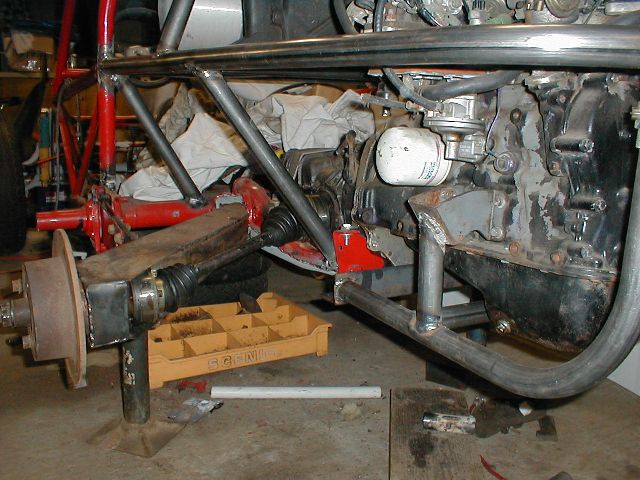
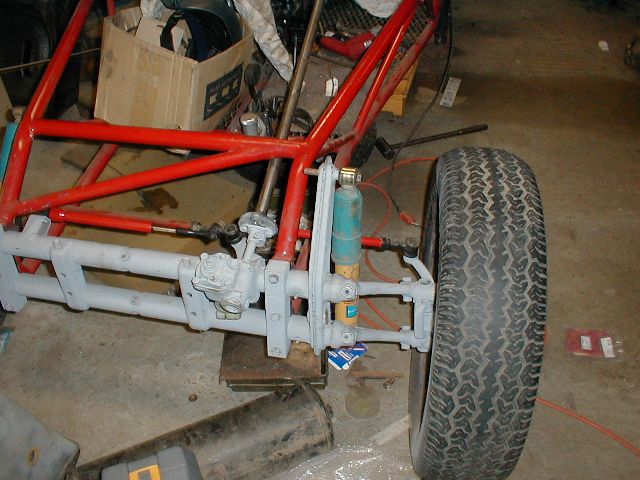
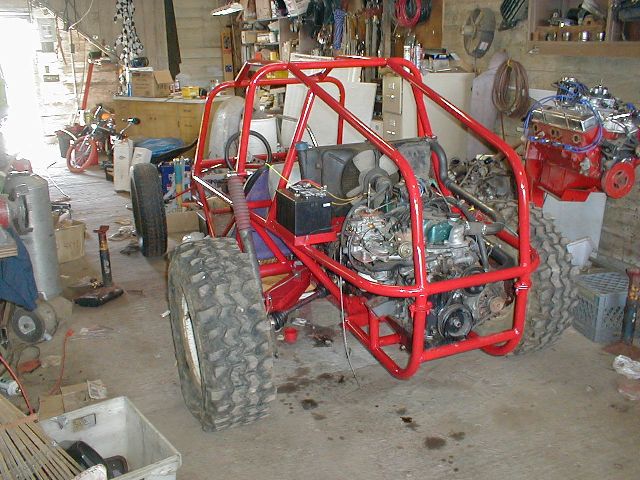
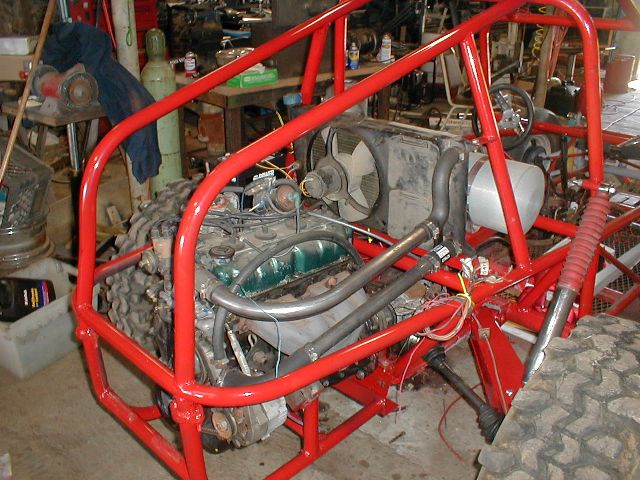
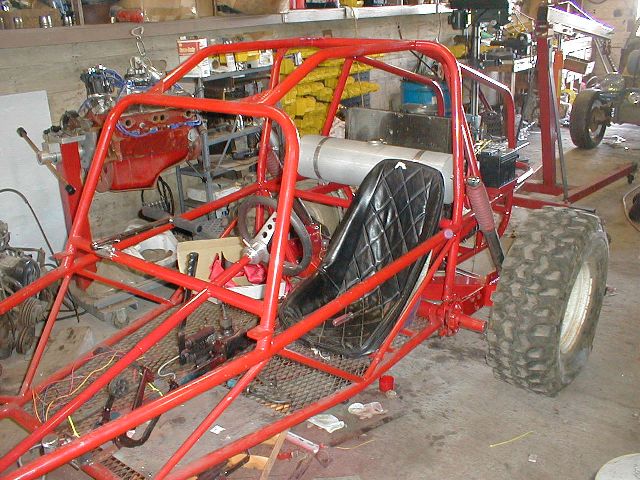
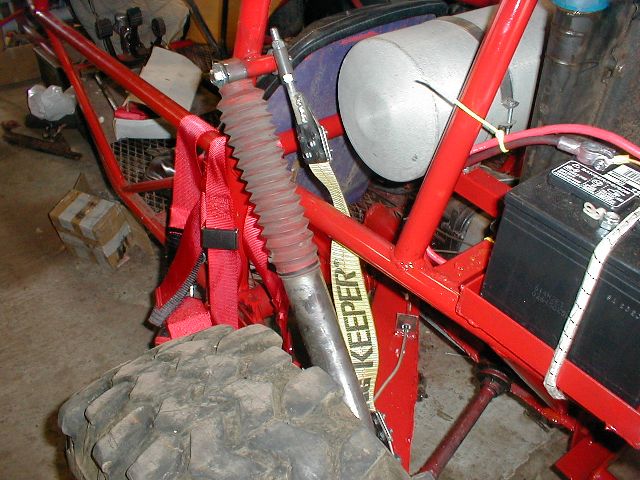
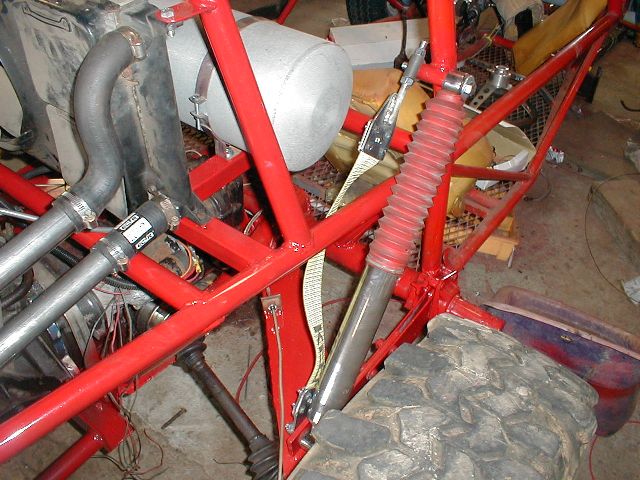
We got this thing as a big pile of parts.  After taking inventory we decided that it was a good candidate for the Toyota motor I had laying around.  It also was a shortback rail and we decided that it needed a rear section to help protect the motor.

After some assembly we cut the back off and replaced the original swingaxle torsion housing with an IRS one.  The motor and bus tranny were installed and the argument then ensued about how to build the cage.  After much deliberation and measuring I just started to bend stuff and weld it in place.  It turned out very well and everything is symmetrical.


josenewcage.JPG (113525 bytes)  josenewcage2.JPG (120907 bytes)  josenewcage4.JPG (109395 bytes)
The rear cage was made out of .095 wall welded tubing.  It is the same material the rest is made of so it should work out just fine.


josenewcage5.JPG (135318 bytes)  josenewcage6.JPG (109068 bytes)  josenewcage7.JPG (122499 bytes)
The shift shaft was customized to attach to the bus tranny.  It was a precision modification that required almost two minutes with a conduit bender and some beer.  The radiator was tossed in to check for placement and some bracing was added.

redrail24.jpg (66377 bytes)  redrail25.jpg (62794 bytes)  redrail33.jpg (66746 bytes)  redrail37.jpg (74792 bytes)  redrail38.jpg (70542 bytes)

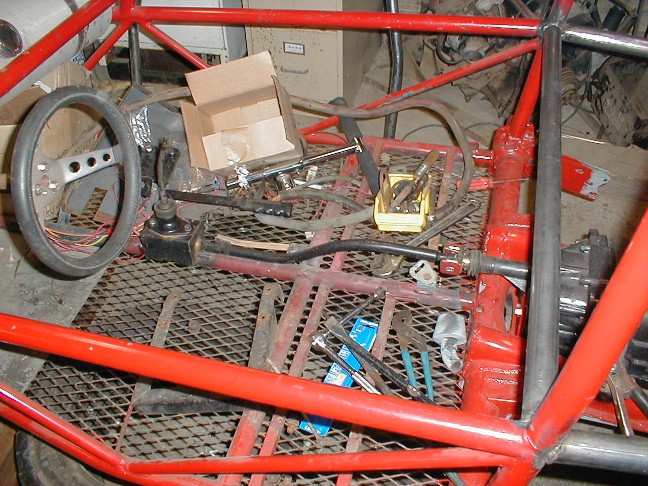
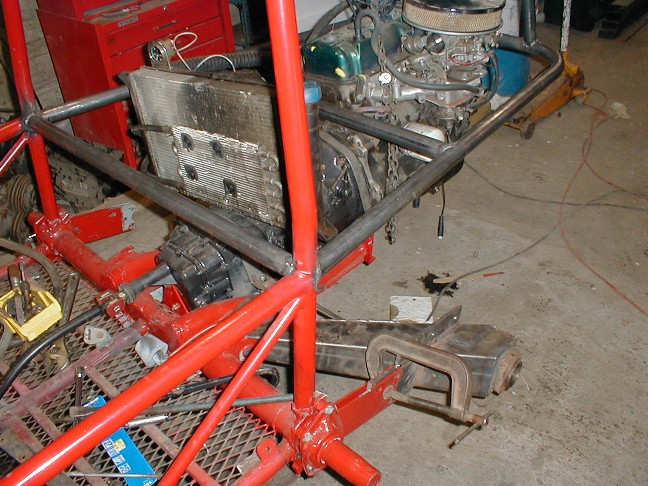
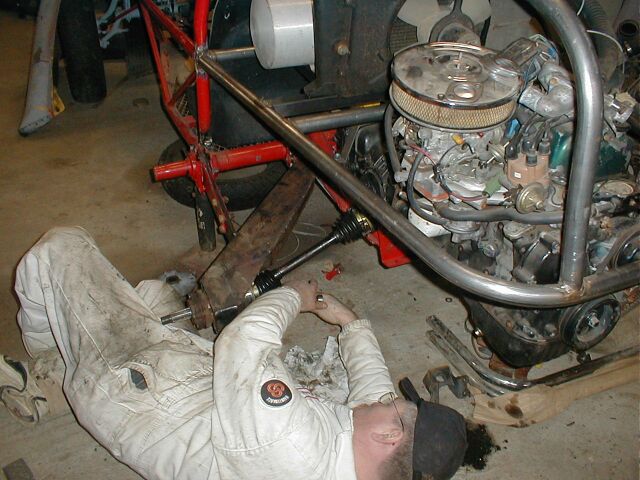
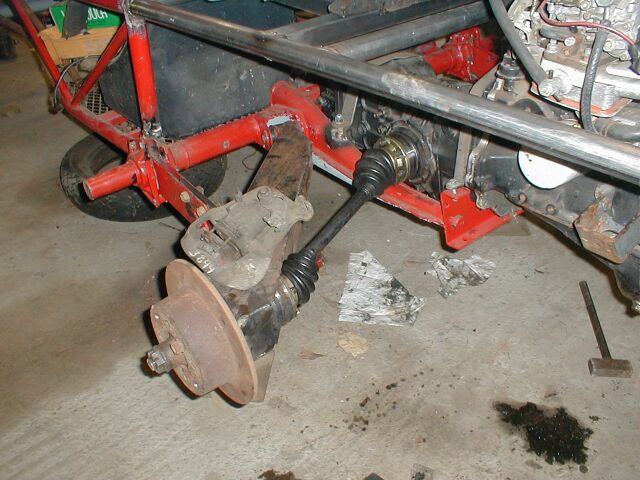
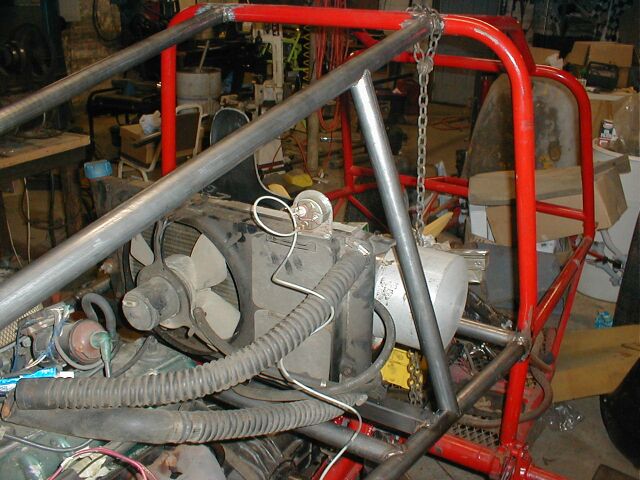
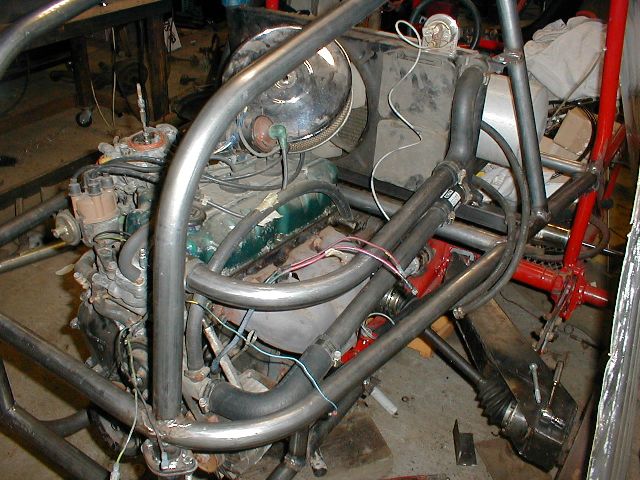
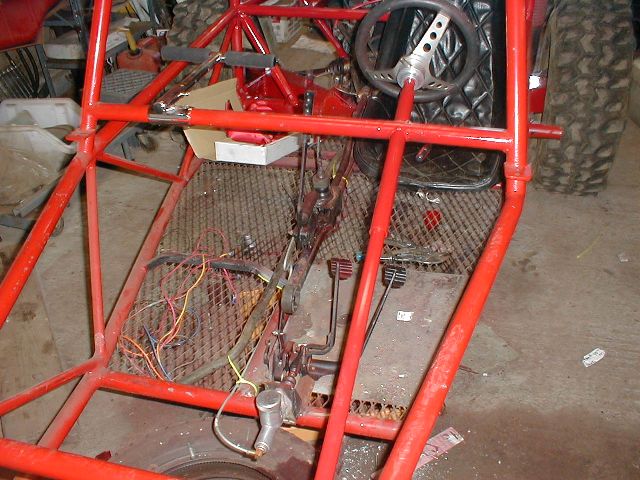
The 2x3 rear arms were built and installed.  We discovered when installing the axles that the trimming to the springplate was too much and some limiting straps will need to be made.  We also found that one springplate was installed with more pre-load than the other (heavy sigh).  After taking it apart and putting it back together a few times we got the rear suspension done.  Some cross tubes were added to mount the radiator and gas tank to and welded in place.

redrail39.jpg (73698 bytes)  redrail40.jpg (77548 bytes)

The 280ZX disc brake conversion was completed and installed and calipers checked for installation.  An extra bar was added to the passenger side to locate the upper radiator mount.  We found that the radiator only had three mounts.  We will have to see if this works ok or if we will need the fourth for stability of the radiator.  Wouldn't want that thing flexing and blowing hot water on the back of our necks.

toyorail18.JPG (79516 bytes)  toyorail19.JPG (78495 bytes)  toyorail20.JPG (78349 bytes)  toyorail24.JPG (77128 bytes)  toyorail25.JPG (72508 bytes)  

toyorail26.JPG (86986 bytes)  toyorail27.JPG (81484 bytes)  toyorail28.JPG (78556 bytes)  toyorail29.JPG (70714 bytes)    


toyorail005.jpg (89615 bytes)  toyorail006.jpg (88707 bytes)  toyorail007.jpg (84901 bytes)  toyorail008.jpg (99814 bytes)  toyorail011.JPG (75740 bytes)  

toyorail30.JPG (79128 bytes)  toyorail012.JPG (82643 bytes)  toyorail013.JPG (85295 bytes)

03bc_07.jpg (116067 bytes)  bc03081.JPG (59077 bytes)  bc03082.JPG (30312 bytes)

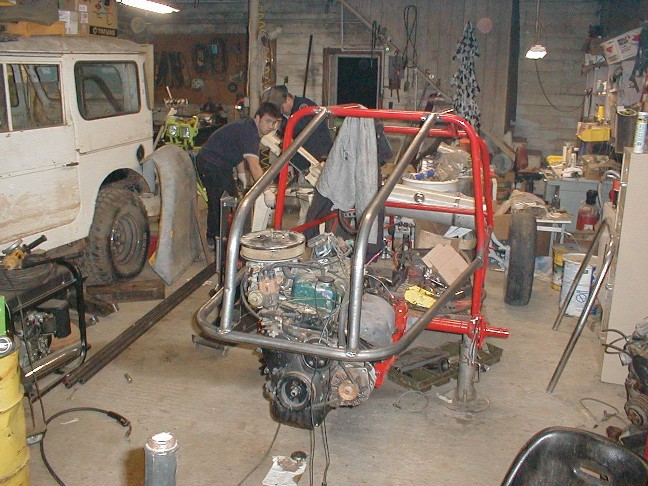
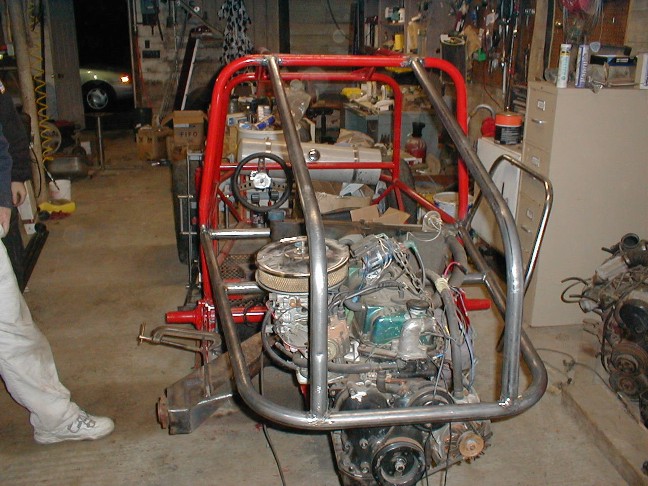
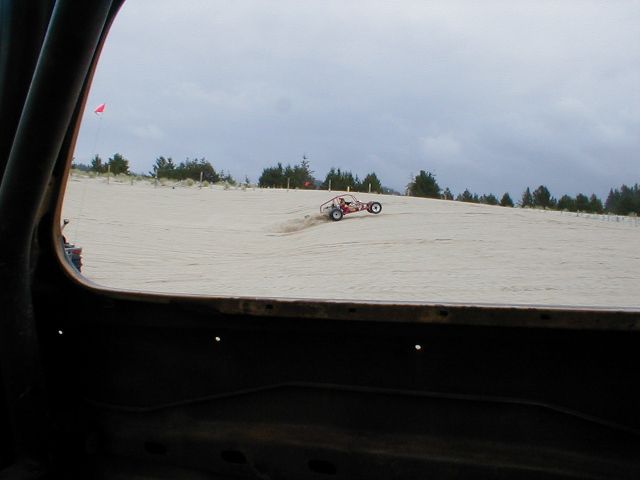
The test run left a little to be desired.  Mostly power.  The motor just doesn't have much in the way of compression.  It ran great and has good bottom end but wouldn't rev up like I would expect.  We have another motor laying around so we are going to put it in and see how it goes.


For problems or questions regarding this web contact .
Last updated: February 27, 2014.

All content on this website belongs Blind Chicken Racing and it's employees.  All use without prior permission is expressly forbidden.  Violators will be prosecuted.