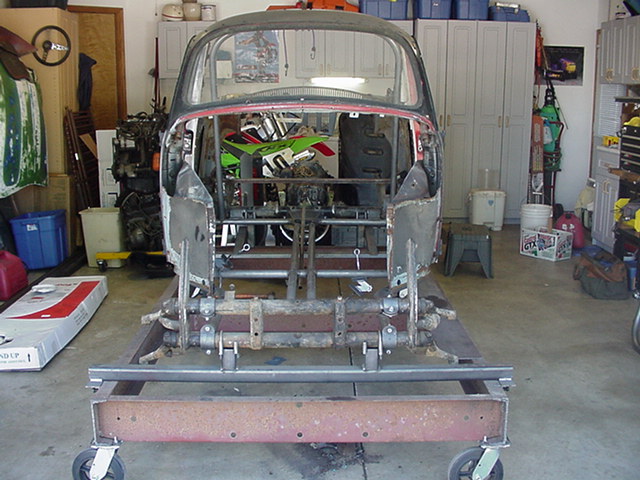
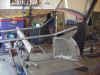
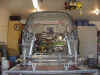
Now it is time to start working on the front end of the
cage. I went ahead and tack welded the roll cage together to give it some
structure for when I take out the dash board and front sheet metal.
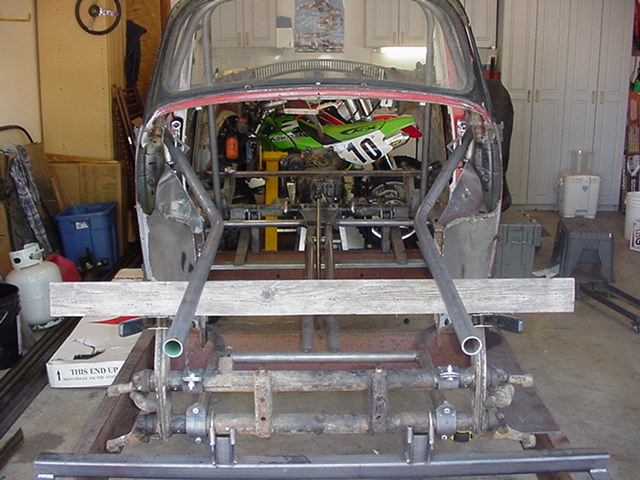
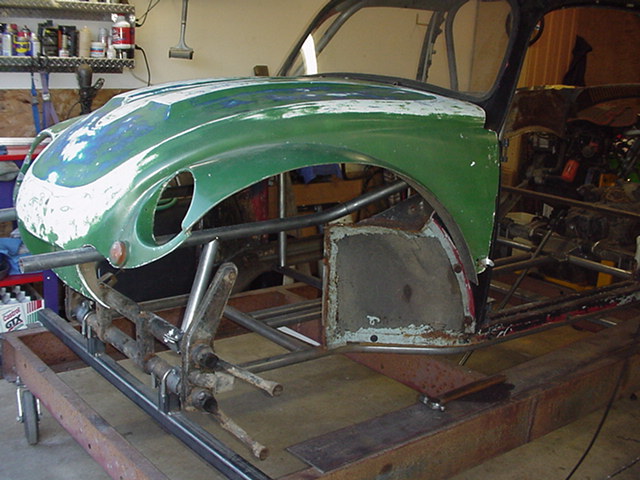
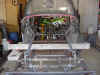
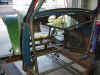
As you can see there really isn't much of the original sheet metal left from
the car. I did not plan this from the get go, but it kind of went that way
as I made mental design changes. And just before the next set of pictures,
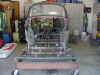
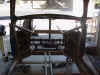
I went through and tack welded the interior cage together, as well as to the
tube chassis, to get some rigidity before I move on.
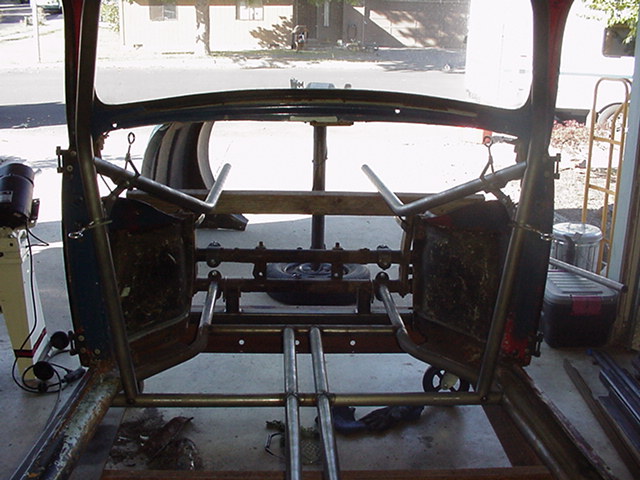
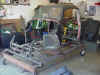
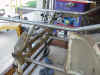
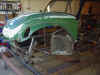
Here I spent some quality time trying to make sure I have the clearance I
need for the removal of the body, as well as get everything straight and
level. This was a daunting task, because of the crazy angles that I had to
work with. Have you ever done a compound angled notch on an
angle.....TWICE? And get it right? I guess I can say I was lucky, or
that the fabrication God was looking down at me through his safety glasses.
I added some of the front upright supports here, and proceeded to tack all
the front pieces together.
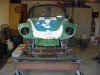
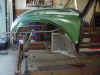
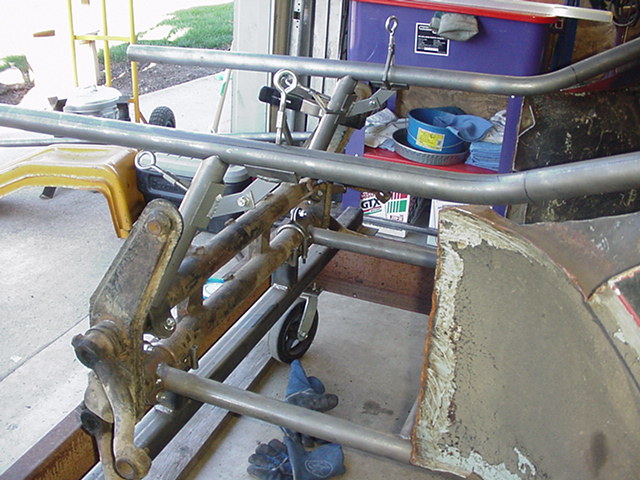
I was so excited to see front end structure, that I yanked the one piece off
the wall and tossed it on the car. I had to hit it with the hole saw in
the front a few times to get it to lay down where I wanted it. Bear in
mind that the front fiberglass WILL be trimmed up a lot more, and will see one
color of CHEAP PAINT eventually.
PAGE 7
Jump to Page ,1 ,2
,3 ,4 ,5
,6 ,7 ,8
,9 ,10 ,11 ,12 ,13